So you’ve decided to install Professional Awesome Racing/Fortune Auto coilovers on your Honda Insight. Smart move, good for you! This guide isn’t going to be a step-by-step instruction manual, although we will provide some guidance. Taking off the stock suspension and putting on a replacement is a fairly simple job well documented in the OEM service manual, which can be found here. This guide will go more in-depth on how to make your coilover install the best possible for your application. The stock suspension on the Insight leaves a lot to be desired and we’ve stepped in to help. What’s wrong with the stock suspension? In my humble opinion, the biggest shortcomings for the OEM Insight suspension are two or maybe even threefold.
First, the suspension doesn’t have adequate compression travel. Anyone who has driven a stock Insight knows the feeling of hitting a bump, the suspension bottoming out, crashing into the bump stops and feeling like the whole car is dying. Combine the minimal bump travel with the next problem, too soft of springs, then you’ve got a perfect recipe for running out of travel and smashing the strut body into the top hat. Lastly, we have inadequate compression damping, which is icing on the cake. In the rally car world, cars need to be softly sprung to manage all the bumps, dips and jumps, but suspension designers compensate by using a lot of suspension travel and compression damping to slow the suspension down under bump to keep the car compliant.
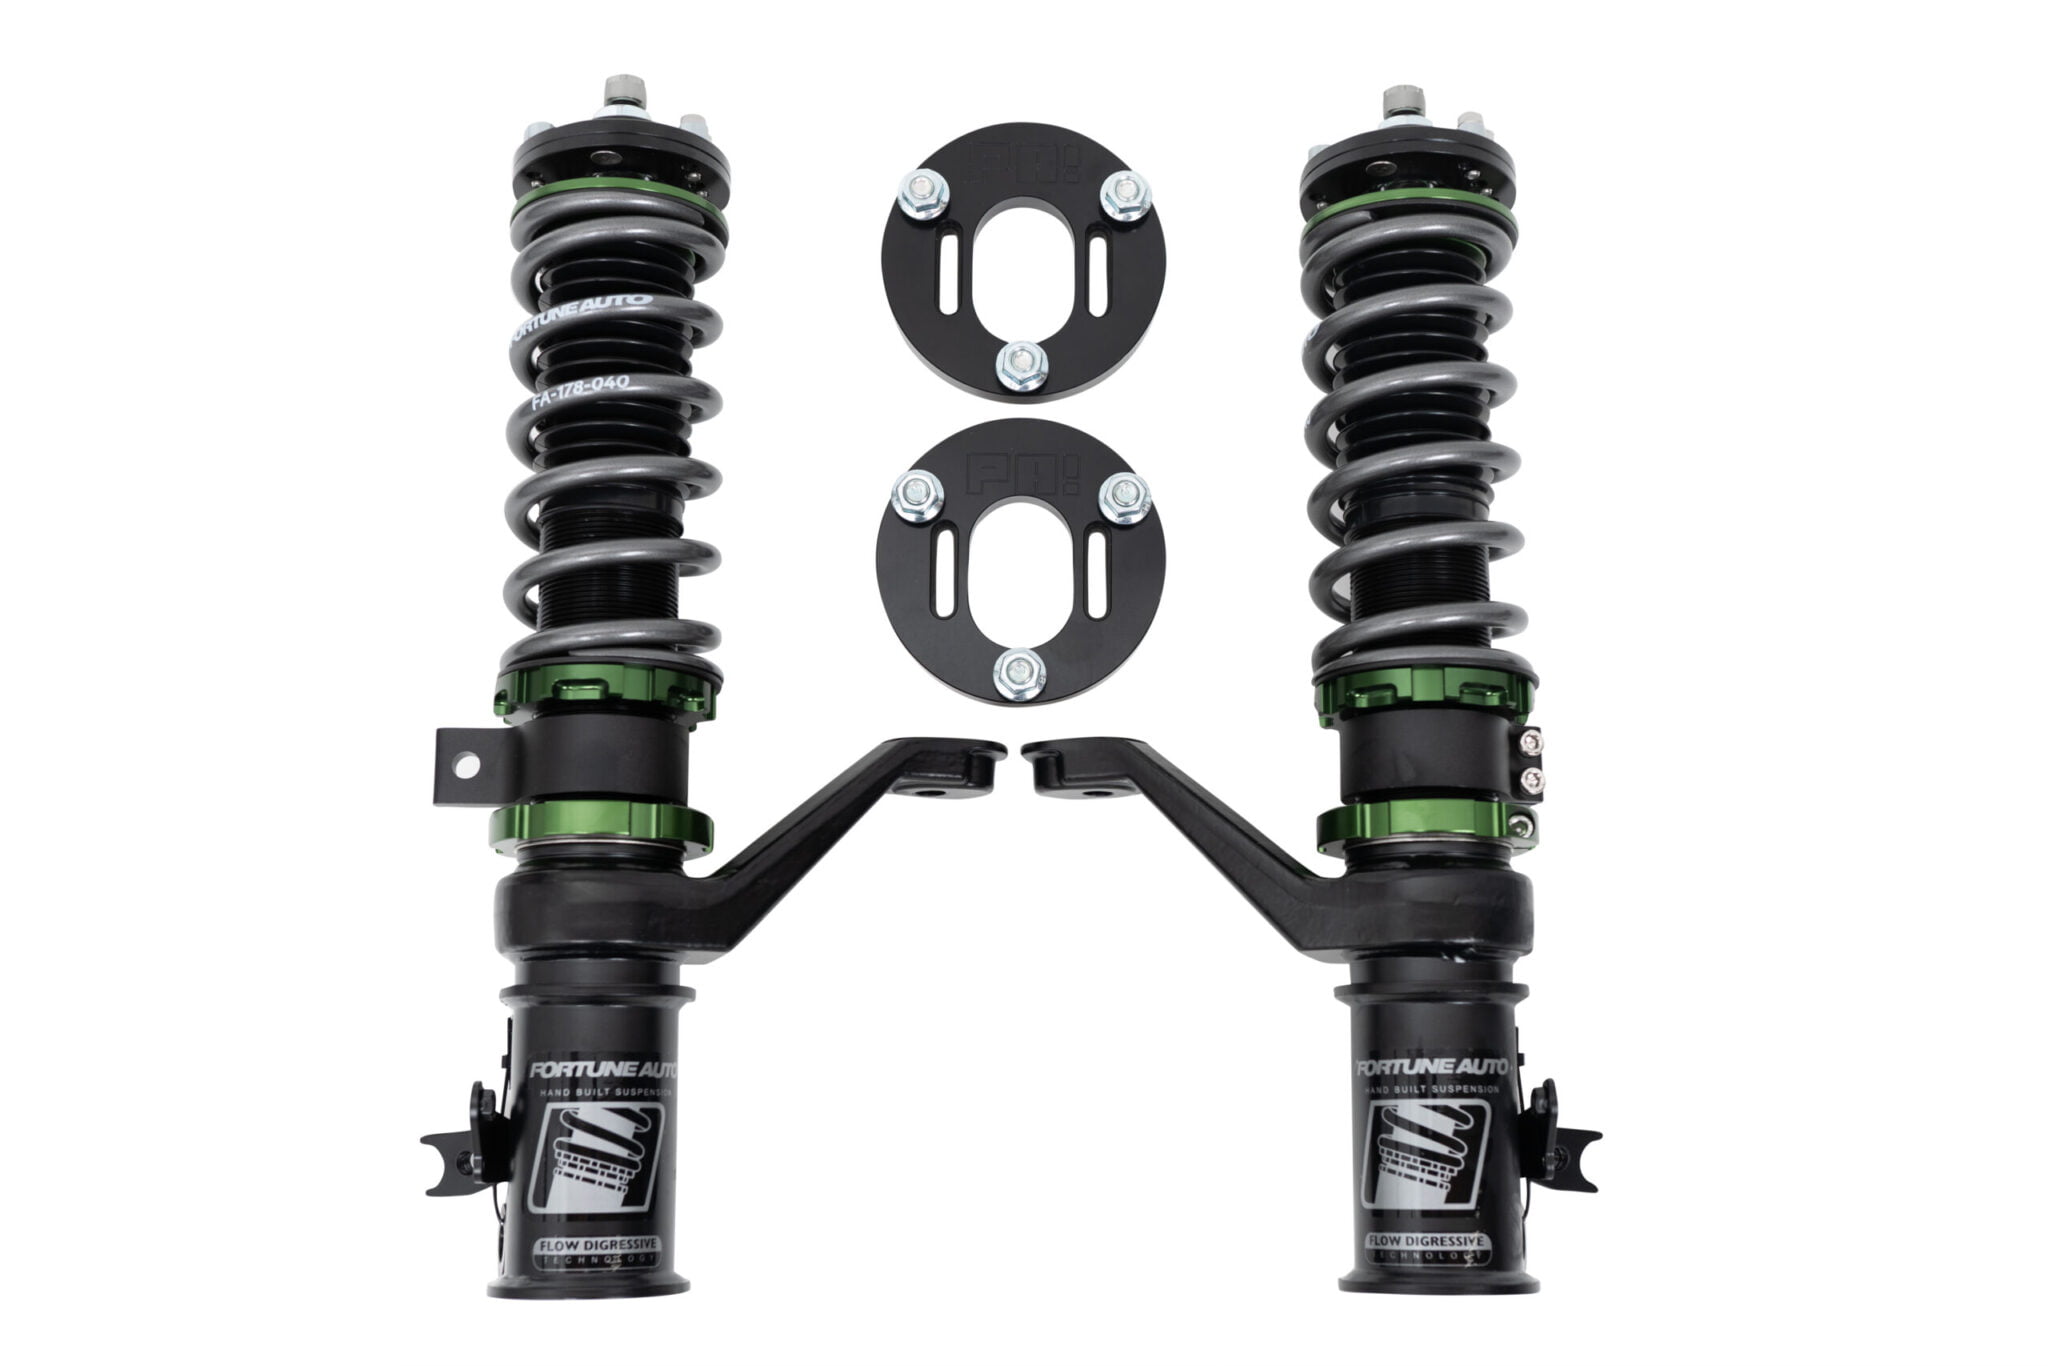
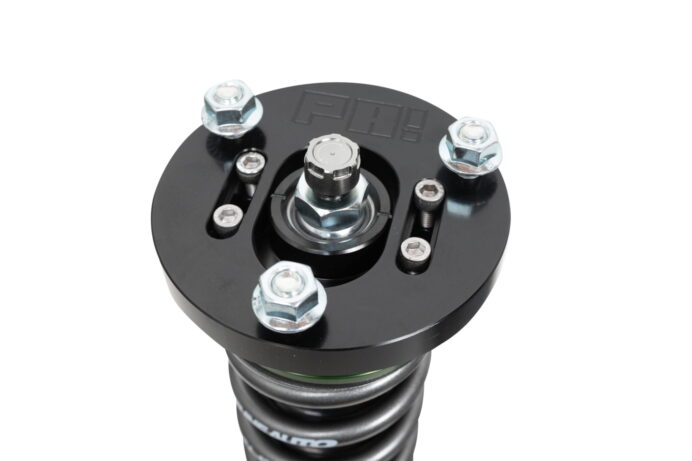
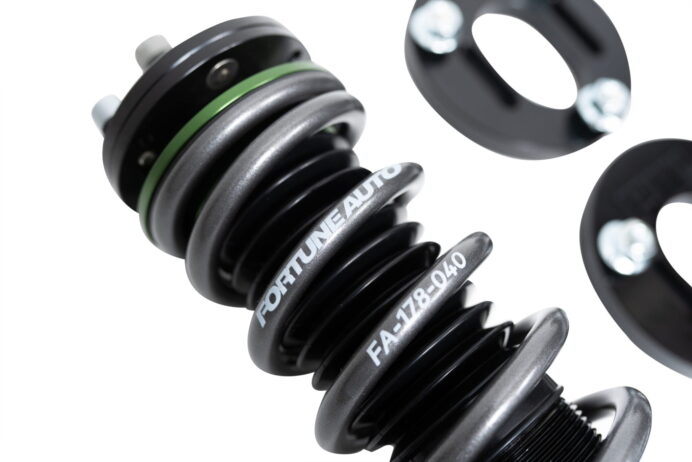
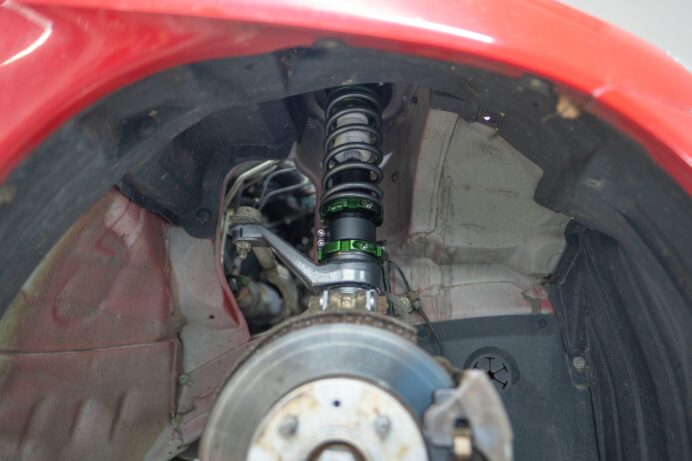
With this in mind, how did we tackle the suspension issues with our coilovers? The great thing about working with Fortune Auto is that the strut assembly is adjustable in so many ways, it gives us a lot of freedom to make any changes necessary to work within the constraints Honda gave us. The first adjustment that we can take advantage of is that the ride height can be controlled via the spring perch as well as the lower spindle mount. Let’s talk about what we can do with these adjustments.
The most important adjustment you can make!
The lower spindle mount is the most critical step in your coilover installation journey. This controls where the wheel travels within your suspension arc. If you extend this adjustment (making your total strut assembly longer), you limit how far your tire will compress into the wheel well before the bump stop engages. If you reduce this adjustment (making your strut assembly shorter), your wheel will travel further into the wheel well under compression. Neither adjustment is good nor bad, but a choice you need to make depending on the wheels and tires you run and your desired ride height.

So how do we adjust this so it’s optimal for each install? There are two things to keep in mind and the most important is wheel and tire clearance. The second is desired ride height. Let’s start with clearance. If you reduce the height of the overall strut assembly too far, it is possible for the tire to contact the wheel well and rub on stuff you don’t want it to. This is more likely to happen if you run larger width/diameter tires, as well as aggressive offset wheels. In order to keep clearance issues from happening, we have to adjust the lower spindle mount with a lot of consideration.
How to adjust your lower spindle mount.
Now for the most fun/annoying/time consuming/sucky part of the job. The best way to set this adjustment is to disassemble your coilover and remove the spring and bump stop, then reassemble everything (preferably with a ½” packer to simulate a fully compressed bump stop) and install it on your car, with a wheel/tire. Now, with the car in the air, compress the wheel fully and rotate the tire to see if it rubs on anything. If it does, extend the lower perch mount adjustment. If it doesn’t, reduce the lower perch mount adjustment. Repeat and test again. Once you are in the ballpark of a good adjustment and nothing is rubbing, add a little bit of steering lock left and right and see if there’s any rubbing. You don’t need to put full steering lock in as you aren’t cranking the steering full bore and hitting massive bumps at the same time and if you are, well, you have much bigger issues.
You may need to adjust camber and check clearance as well. This is a bit challenging as it’s hard to be certain exactly the amount of camber you’ll have under full compression, but I’d start around 0 degrees and see what happens. A MacPherson strut suspension doesn’t gain much, if any, camber, so don’t expect your wheels/tires to tuck like it would on a Double Wishbone car. Once you’ve checked thoroughly for clearance issues and if there’s no rubbing and you’re happy, I’m happy. On to the next step.
How desired ride height impacts everything.
With the lower perch mount adjusted so you don’t have any clearance issues, now it’s time to think about how this adjustment impacts your desired ride height. Here’s how it worked on my car, but it’s probably going to be a little different for you. You’re welcome to ask us questions for your specific application.


My stock ride height, as measured from the lip of my wheel to the edge of the fender, was about 5.5”. The stock suspension had about 2.5” of bump travel and a staggering 3.5” of droop travel. If you recall from earlier, one of the biggest issues with the car in OEM form is limited compression travel. Honda seems to have engineered the Insight for rock crawling, with a bunch of articulation on the non-loaded corner of the car. This is great for massive jumps, but in the real world, it’s wasted because the suspension is seldom in a full droop situation.
What does this mean for you? It means you need to pay attention to how much droop travel vs. bump travel, knowing that bump is more precious than droop (for us, this isn’t true for all cases so don’t complain to me if you are using this advice for other situations or vehicles). For me, my desired ride height was 1” lower than stock. With this goal in mind, with the suspension installed on the car, still without the spring and bump stop installed, I measured from the desired ride height to full compression. Then I measured from desired ride height to full droop. Knowing the stock compression travel is about 2.5”, I knew that’s the minimum amount of travel I would accept.
A little caveat here, the Fortune Auto’s on my car were our first generation design and have about 3.5” of total travel, for all coilovers sold after February 2023, they will have more travel, which will help with our concerns even further.
With 3.5” of total travel, I needed to ensure I had 2.5” of compression travel from my desired ride height, which would leave me with 1” of droop travel from my desired ride height. So how did I, and how will you, accomplish this? Below I will go through the two situations you will face.
First, not enough compression travel from the desired ride height.
If you don’t have enough compression travel and you’ve followed my previous steps about checking for clearance, there’s not much that can be done aside from changing to wheels and tires that might offer more room and re-checking clearance. Obviously, that’s not really an option for most people, so the only thing that can be done is to increase your desired ride height or suffer the consequences of not having enough compression travel.
As you’ve done everything you need to do regarding clearance, the lower spindle mount does not need to be adjusted anymore, so you can lock it in position and then you’ll set the ride height via the spring perch. You’ll remove the test coilover assembly (that doesn’t have the spring and bump stop) from your car, reassemble your coilover with the springs and bump stops, and install the coilovers back onto the car. Put the wheel and tire assembly back on the car. Drop the car to the ground, roll or bounce on the corner so the car settles, then measure your ride height. Raise the car and adjust as needed to get to the desired ride height that offers adequate compression travel. Make sure the sway bar endlinks are disconnected throughout this entire process. You won’t reconnect them until you’re nearly done with the install.
Second, not enough droop travel from the desired ride height.
Moving back a step, let’s assume we had the opposite problem. Now from our desired ride height, we have too much compression travel and not enough droop travel. If that’s the case, it’s a little more simple to solve and you’d simply go back to the adjustment on the lower spindle mount and increase the overall height of the coilover.
As you increase the height, remeasure from your desired ride height to get the amount of compression travel and droop travel you want and when you get the desired amount, lock the lower spindle mount, you’re done with that adjustment. Then you’d pull the coilover assembly off of the vehicle, reinstall the springs and bump stop, then follow the same steps as above in the not enough compression travel section. Lower the car on the ground, measure ride height, raise or lower the spring perch as needed to get to your desired ride height. Once that is done, copy and paste to the other side and re-measure ride height as needed.
If you want to be extra cautious, you can repeat the exact same clearance check process for the other side of the vehicle, but I didn’t go that far. I set the overall coilover height the same side-to-side via the lower spindle mount, adjusted the spring perch height to roughly the same level and then tweaked as needed for ride height to be even side-to-side. There will be some difference in the spring perch height as the weight on each corner is slightly different, so don’t worry if they aren’t exactly perfect.
Little details.
Here are a few things to consider after you’ve done the base clearance and ride height install. If you’ve followed everything above, the coilovers are installed and you’re happy with the ride height, the springs shouldn’t be loose in their seats. If they’re loose, you may need helper springs. This is very unlikely for our design and spring rate choice. Usually this is more common when spring rates get very high on racecars, but something to keep an eye out for.
Save the sway bar end link install for the end, after the ride height is dialed in. The sway bar mounts are adjustable on the damper bodies. Make sure there’s adequate clearance for the sway bar around the axles and that the sway bar end links easily slide into the mounts on the damper bodies. If there’s a lot of tension when installing the end links into the mounts, this will create a pre-load on the sway bar.
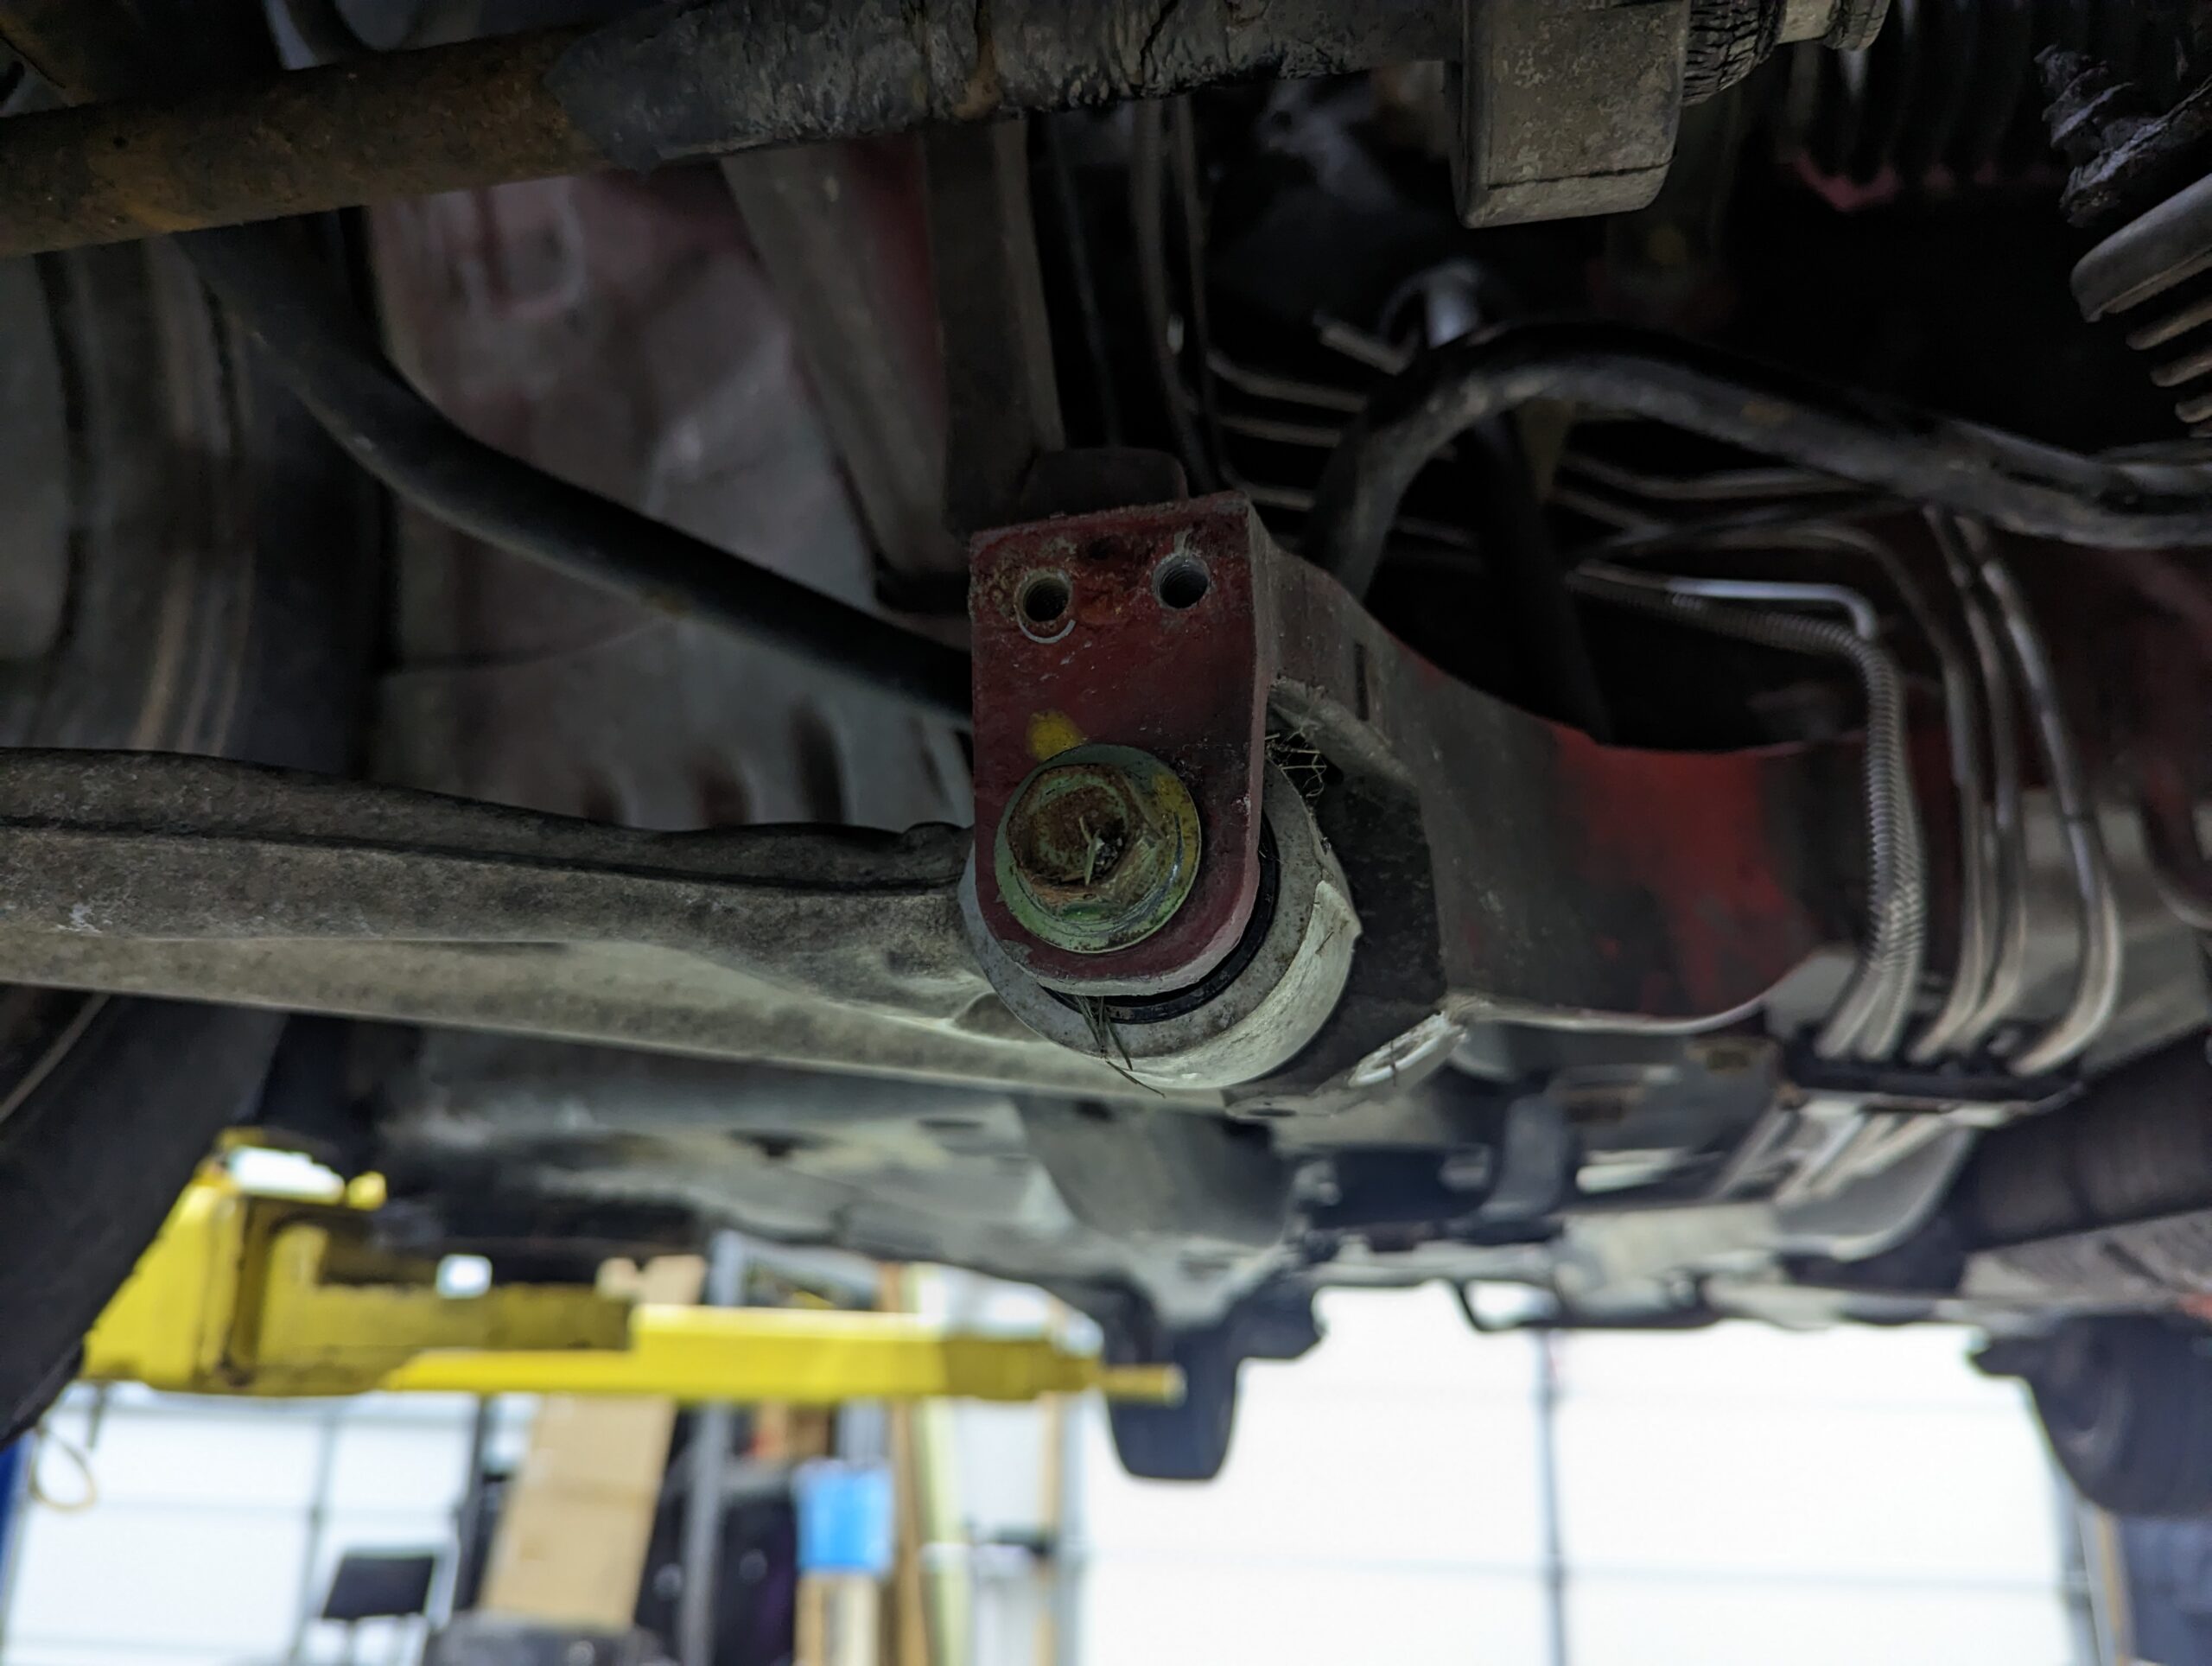
The very last thing is to put the car on the ground, loosen the inner tie rod mounts and the front, inner, forward control arm mounts. These are rubber bushings that will wear out quickly if you don’t loosen and re-tighten them at their new ride height.
Things to consider for the alignment.
Spraying the tie rod adjustment nuts and bolts with penetrating lubricant multiple times, for many days in advance, before an alignment is critically important! Honda decided to use dissimilar metals, which love to seize together. Give yourself a fighting chance by using penetrating lubricant, and very likely some heat, to keep from totally destroying your tie rods trying to align the car.

Camber adjustment is best done where the coilover mounts to the upright on the suspension, not at the top hat. Why? When you adjust camber at the top hat, it is also changing other aspects of the suspension geometry, primarily Kingpin Inclination Angle (KPI or KPA). The greater the KPI, the more camber loss you have when you steer the wheel, requiring more static camber and/or caster. It can also make bump steer worse. That being said, some KPI gives a better steering feel and helps self steer back to center, which are good things. Long story short, do some research before messing with KPI and be aware there’s a balance you’re looking to achieve. Changing your wheel offset messes with scrub radius, which is impacted by your KPI and adds a whole other dimension to this, so you’ve been warned.
All done!
Pat yourself on the back knowing you’ve done a hell of a job installing your coilovers. Start with the knobs on full soft to see how you like how the suspension feels and then play around to perfect the settings you’re most happy with. Let us know if you have any problems, concerns, questions or you want to say how amazing we are. We appreciate any and all feedback and will continually try to improve this strange little hybrid Honda made for us!
If you need a little bit more help, here’s some install tips.


Too lazy to use the service manual? Above are all the nuts you need to remove to take the strut assembly off. Removing the brake caliper makes life a little easier as well.
Last but not least.
Occasionally, we need to make some money, if you’re interested in purchasing a set of our Insight coilovers, here’s they are!

why would someone want just front coilovers, what about the rear?
The biggest reason is the factory parts can’t be purchased anymore for the front and there are decent solutions for the rear springs and dampers already. Additionally, it’s really easy to adapt the existing EP3/DC5 Honda platforms for the front suspension to work on the Insight. For the rear, it’s a bit more complicated.