
Mitsubishi · Lancer Evolution VIII · 2003-2005 CT9A
What this install demonstrates
A photo-documented 2005 Mitsubishi Evo 8 quick-release splitter install using frame-rail mounts, existing threaded holes, and a Cusco power brace.

Products used


Customer spotlight
Support the builder who shared this install
If their work gave you an idea, follow their build and help us thank them for contributing it to the community.
Follow the build
Evo 8 Splitter Mounting Approach
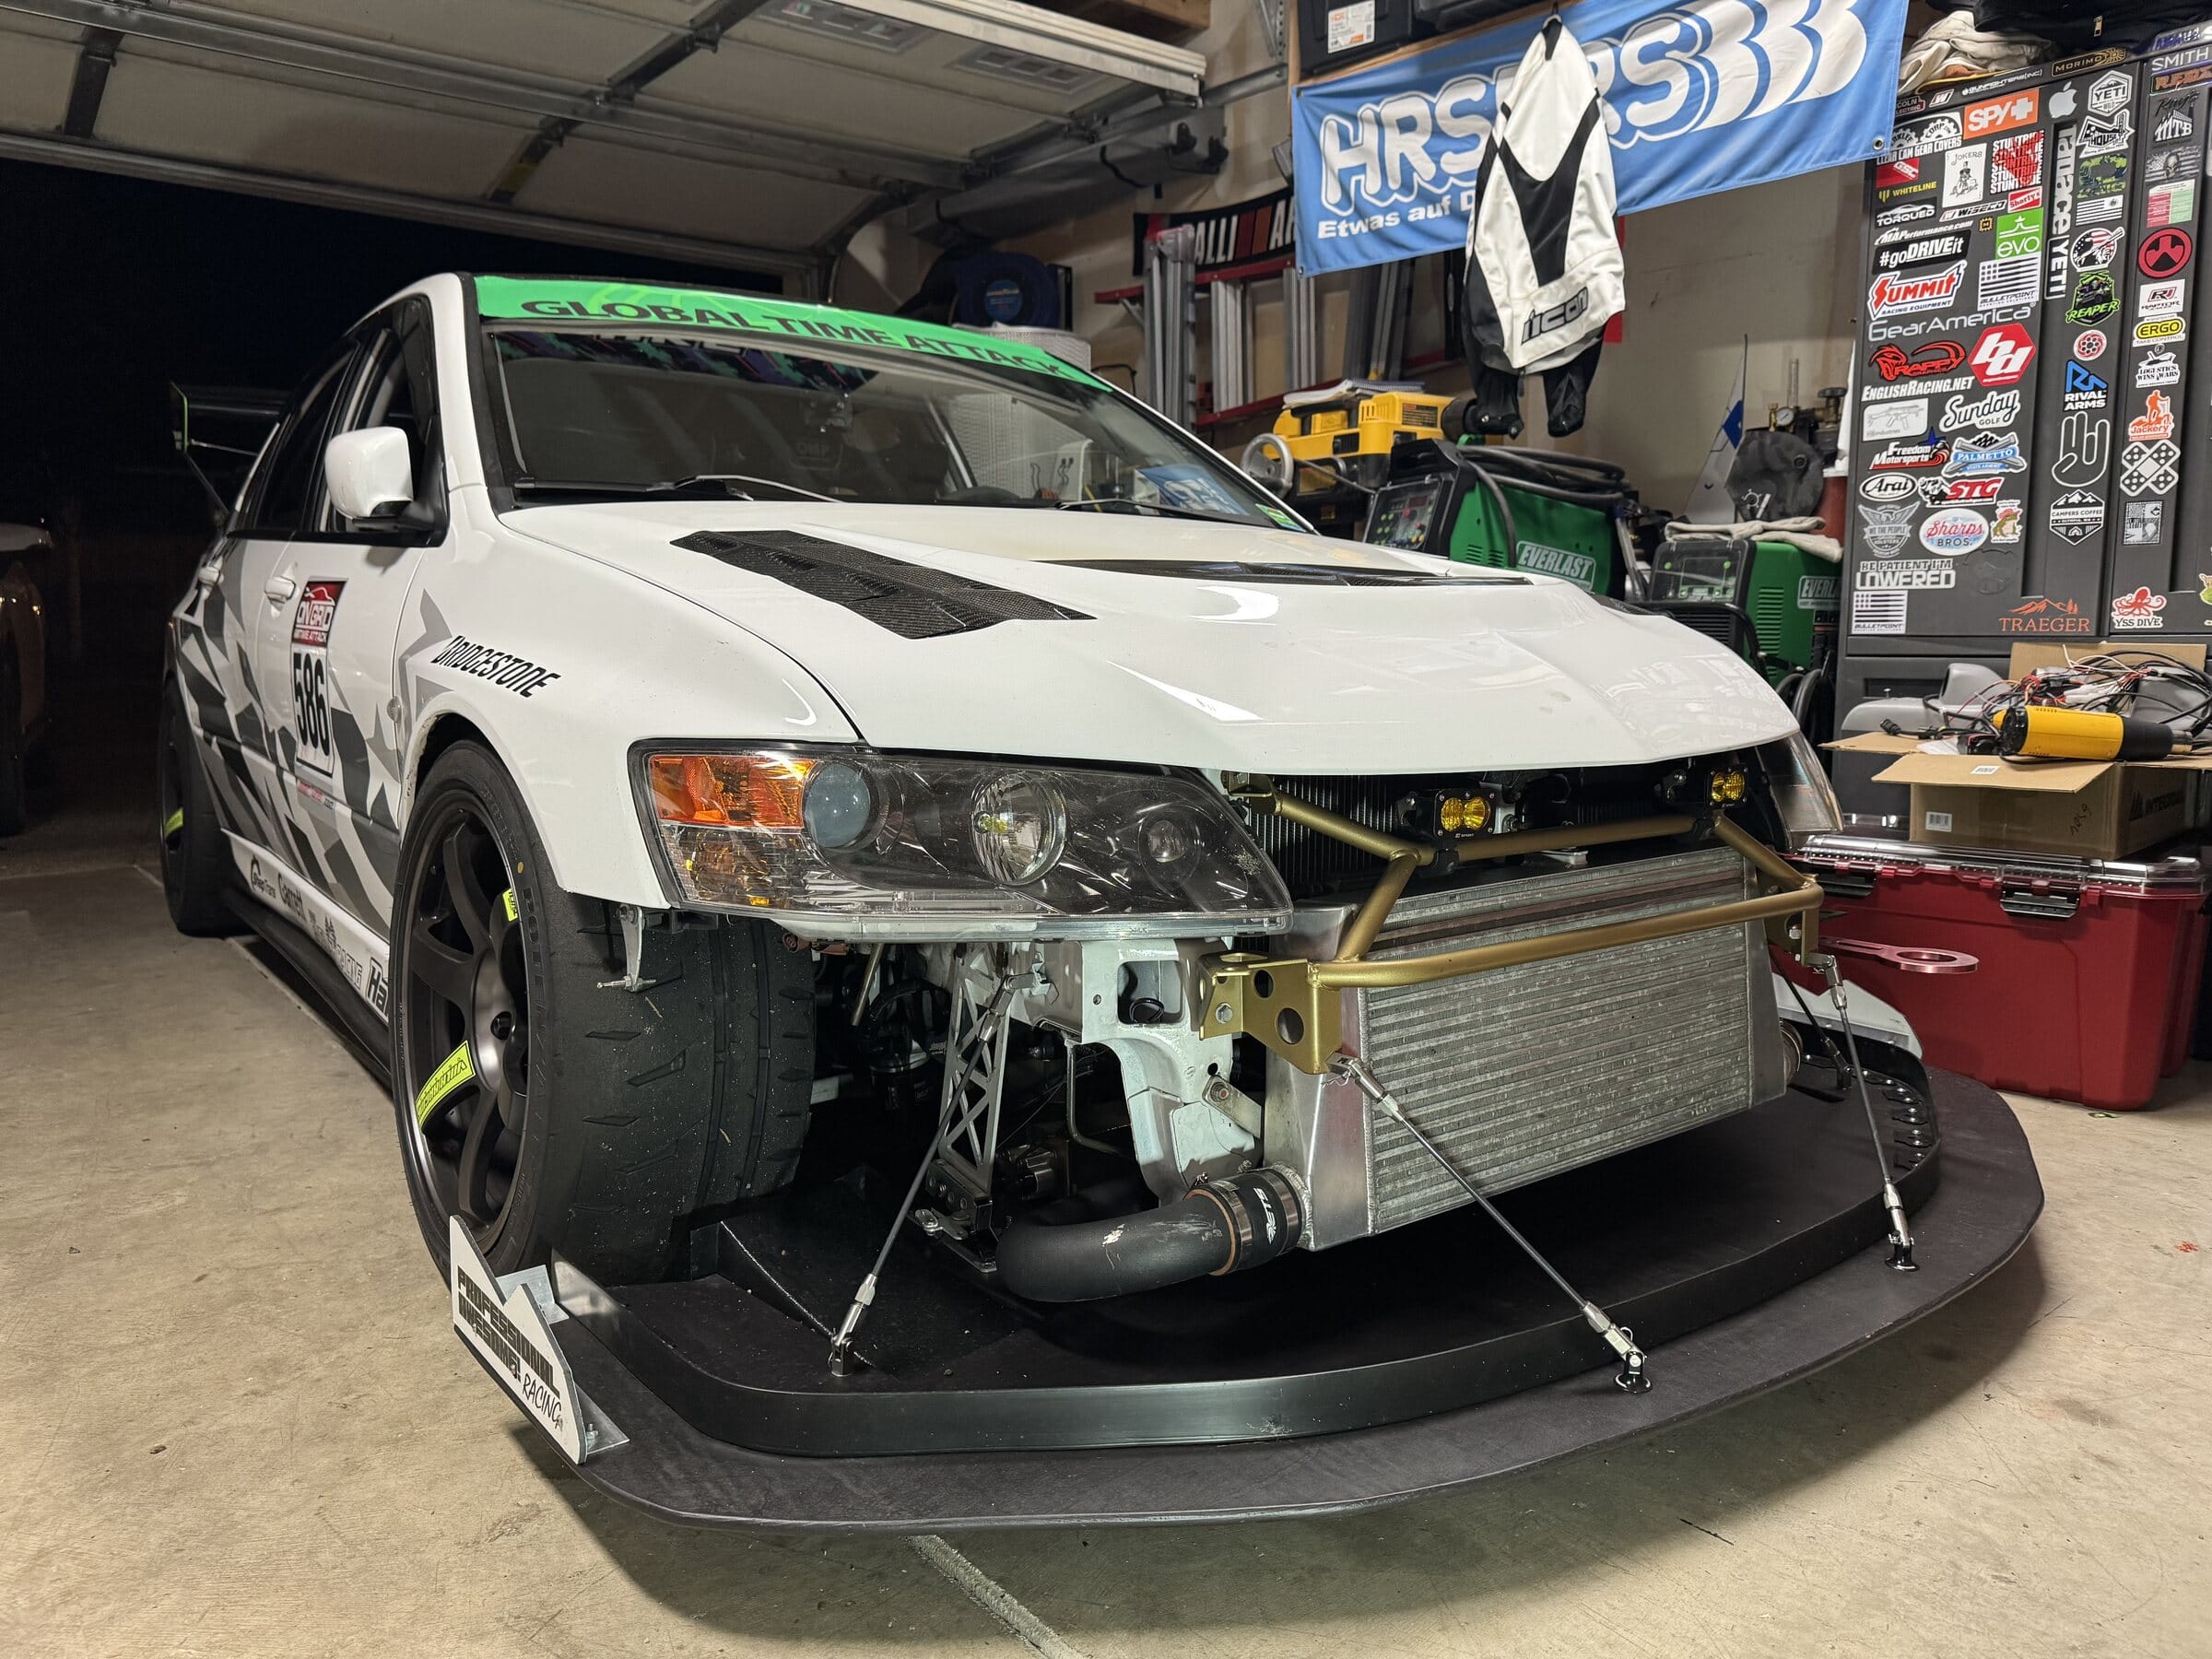
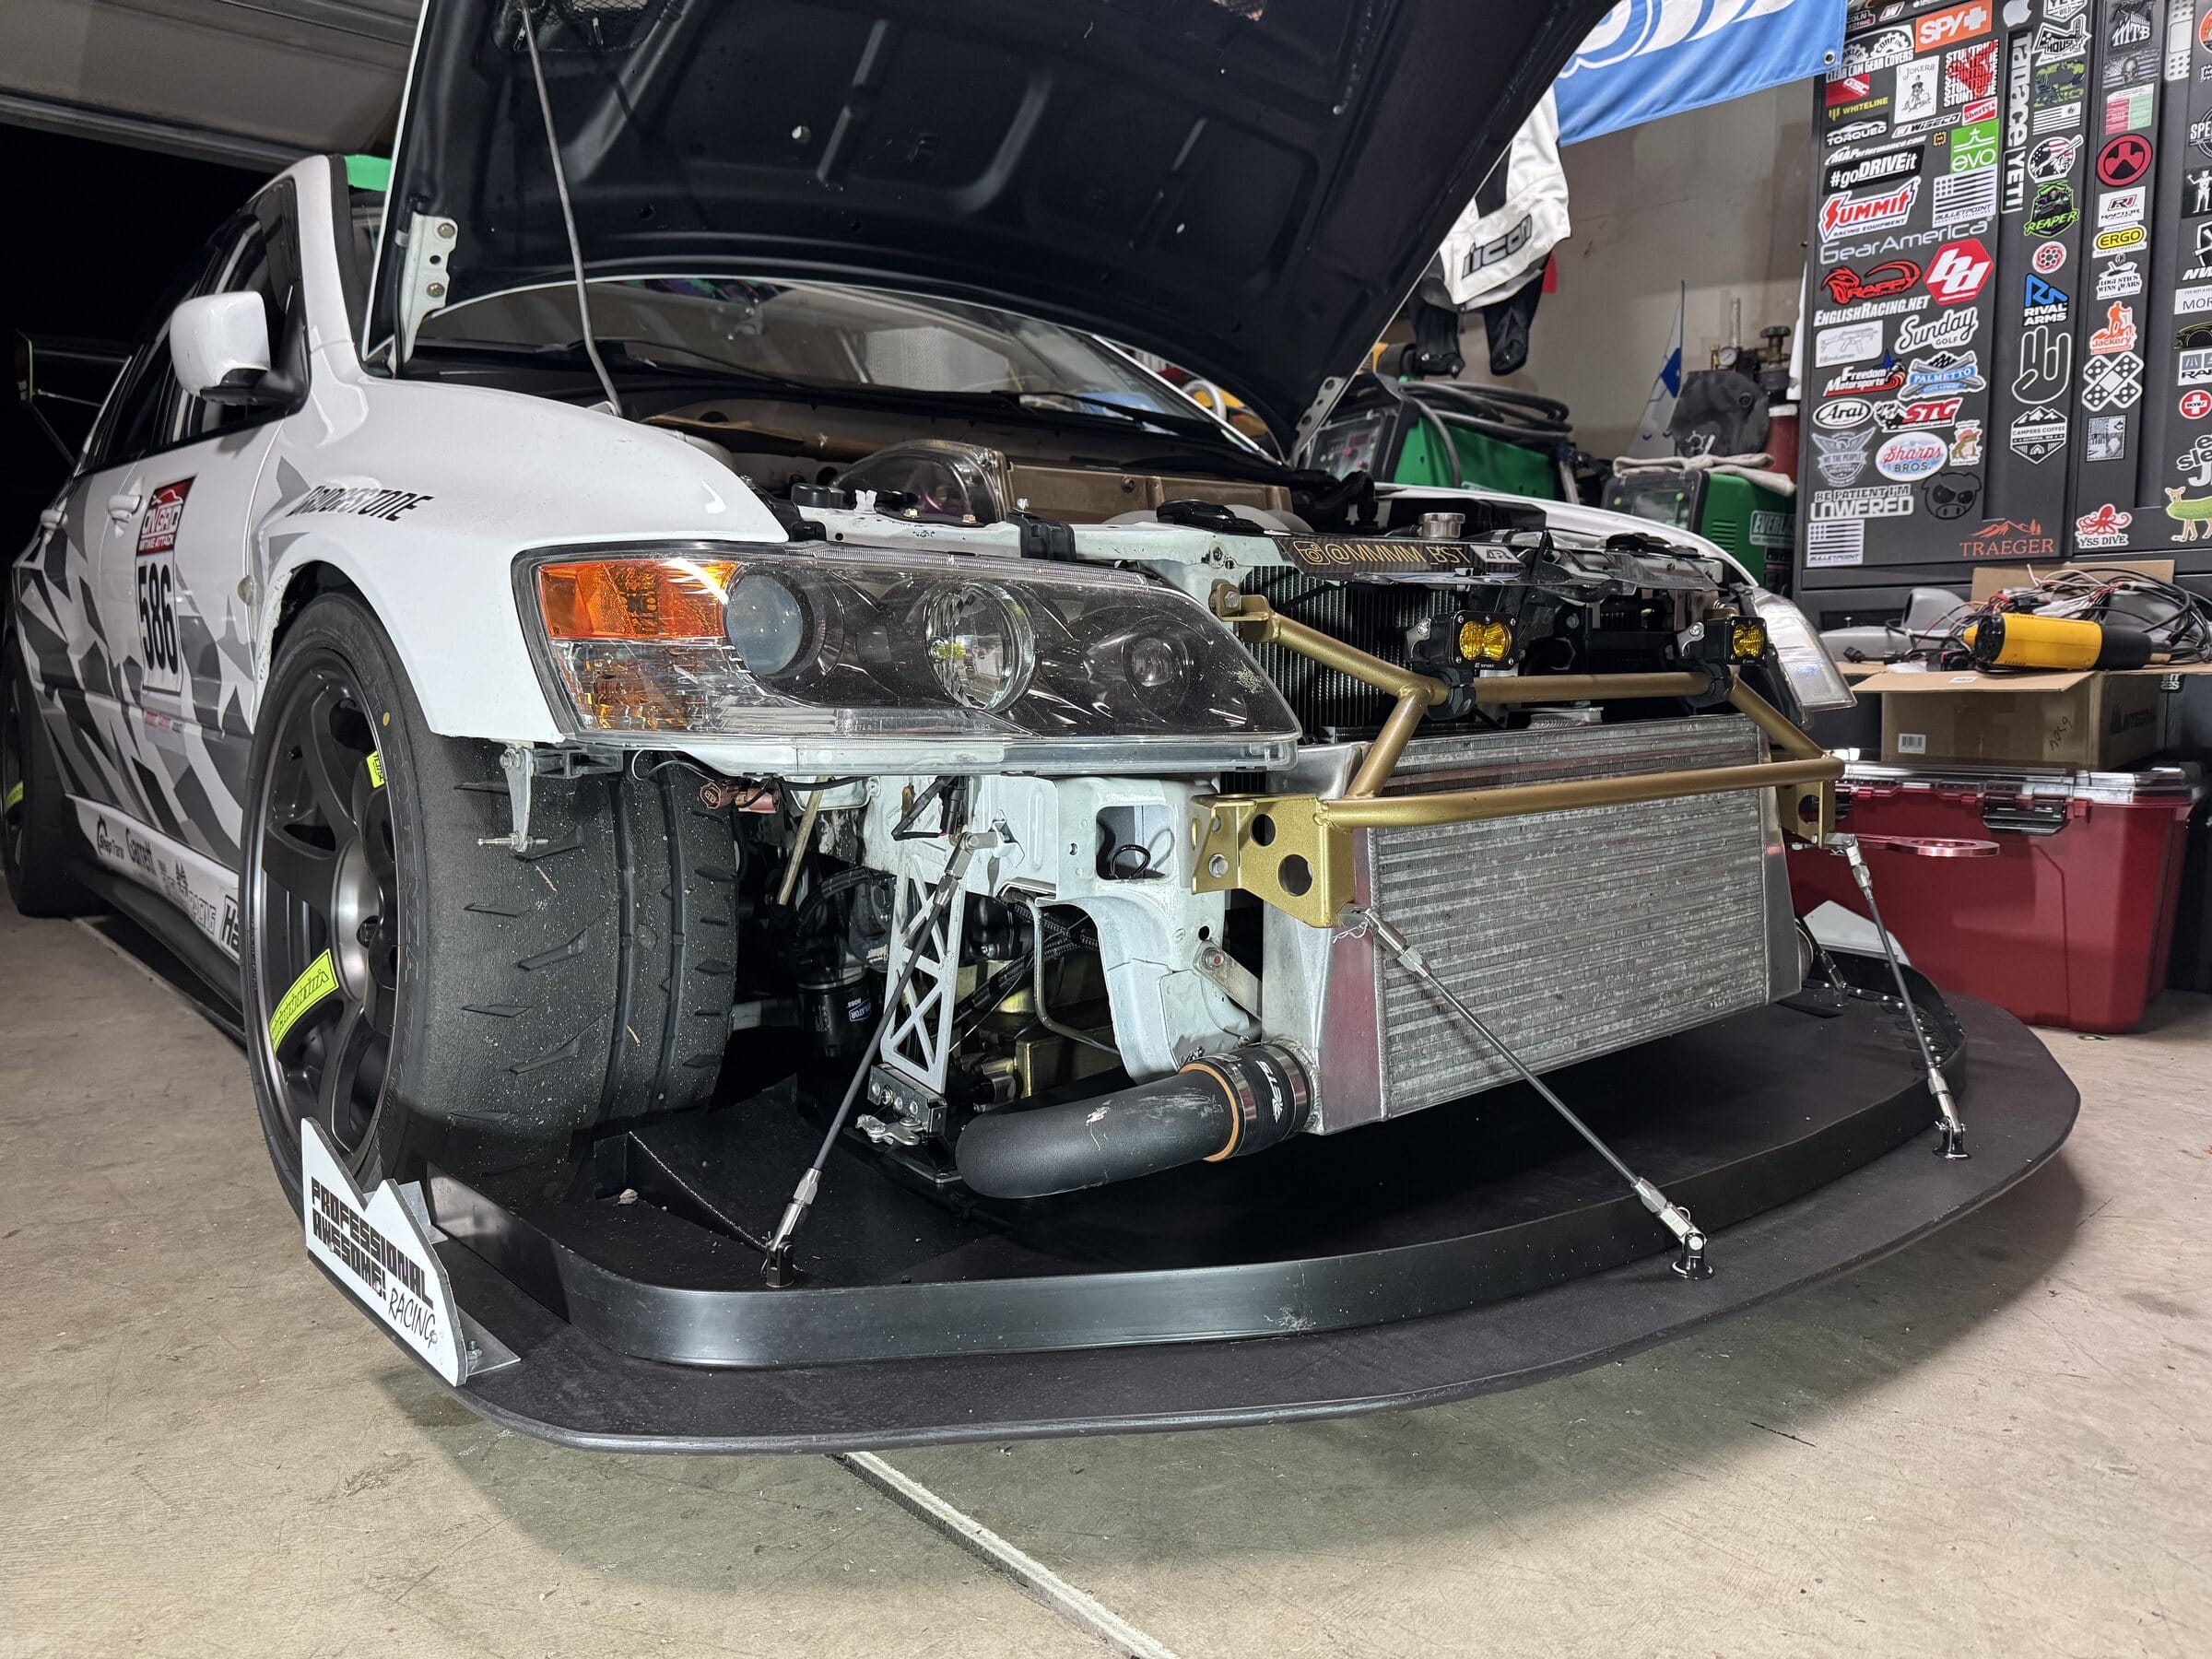
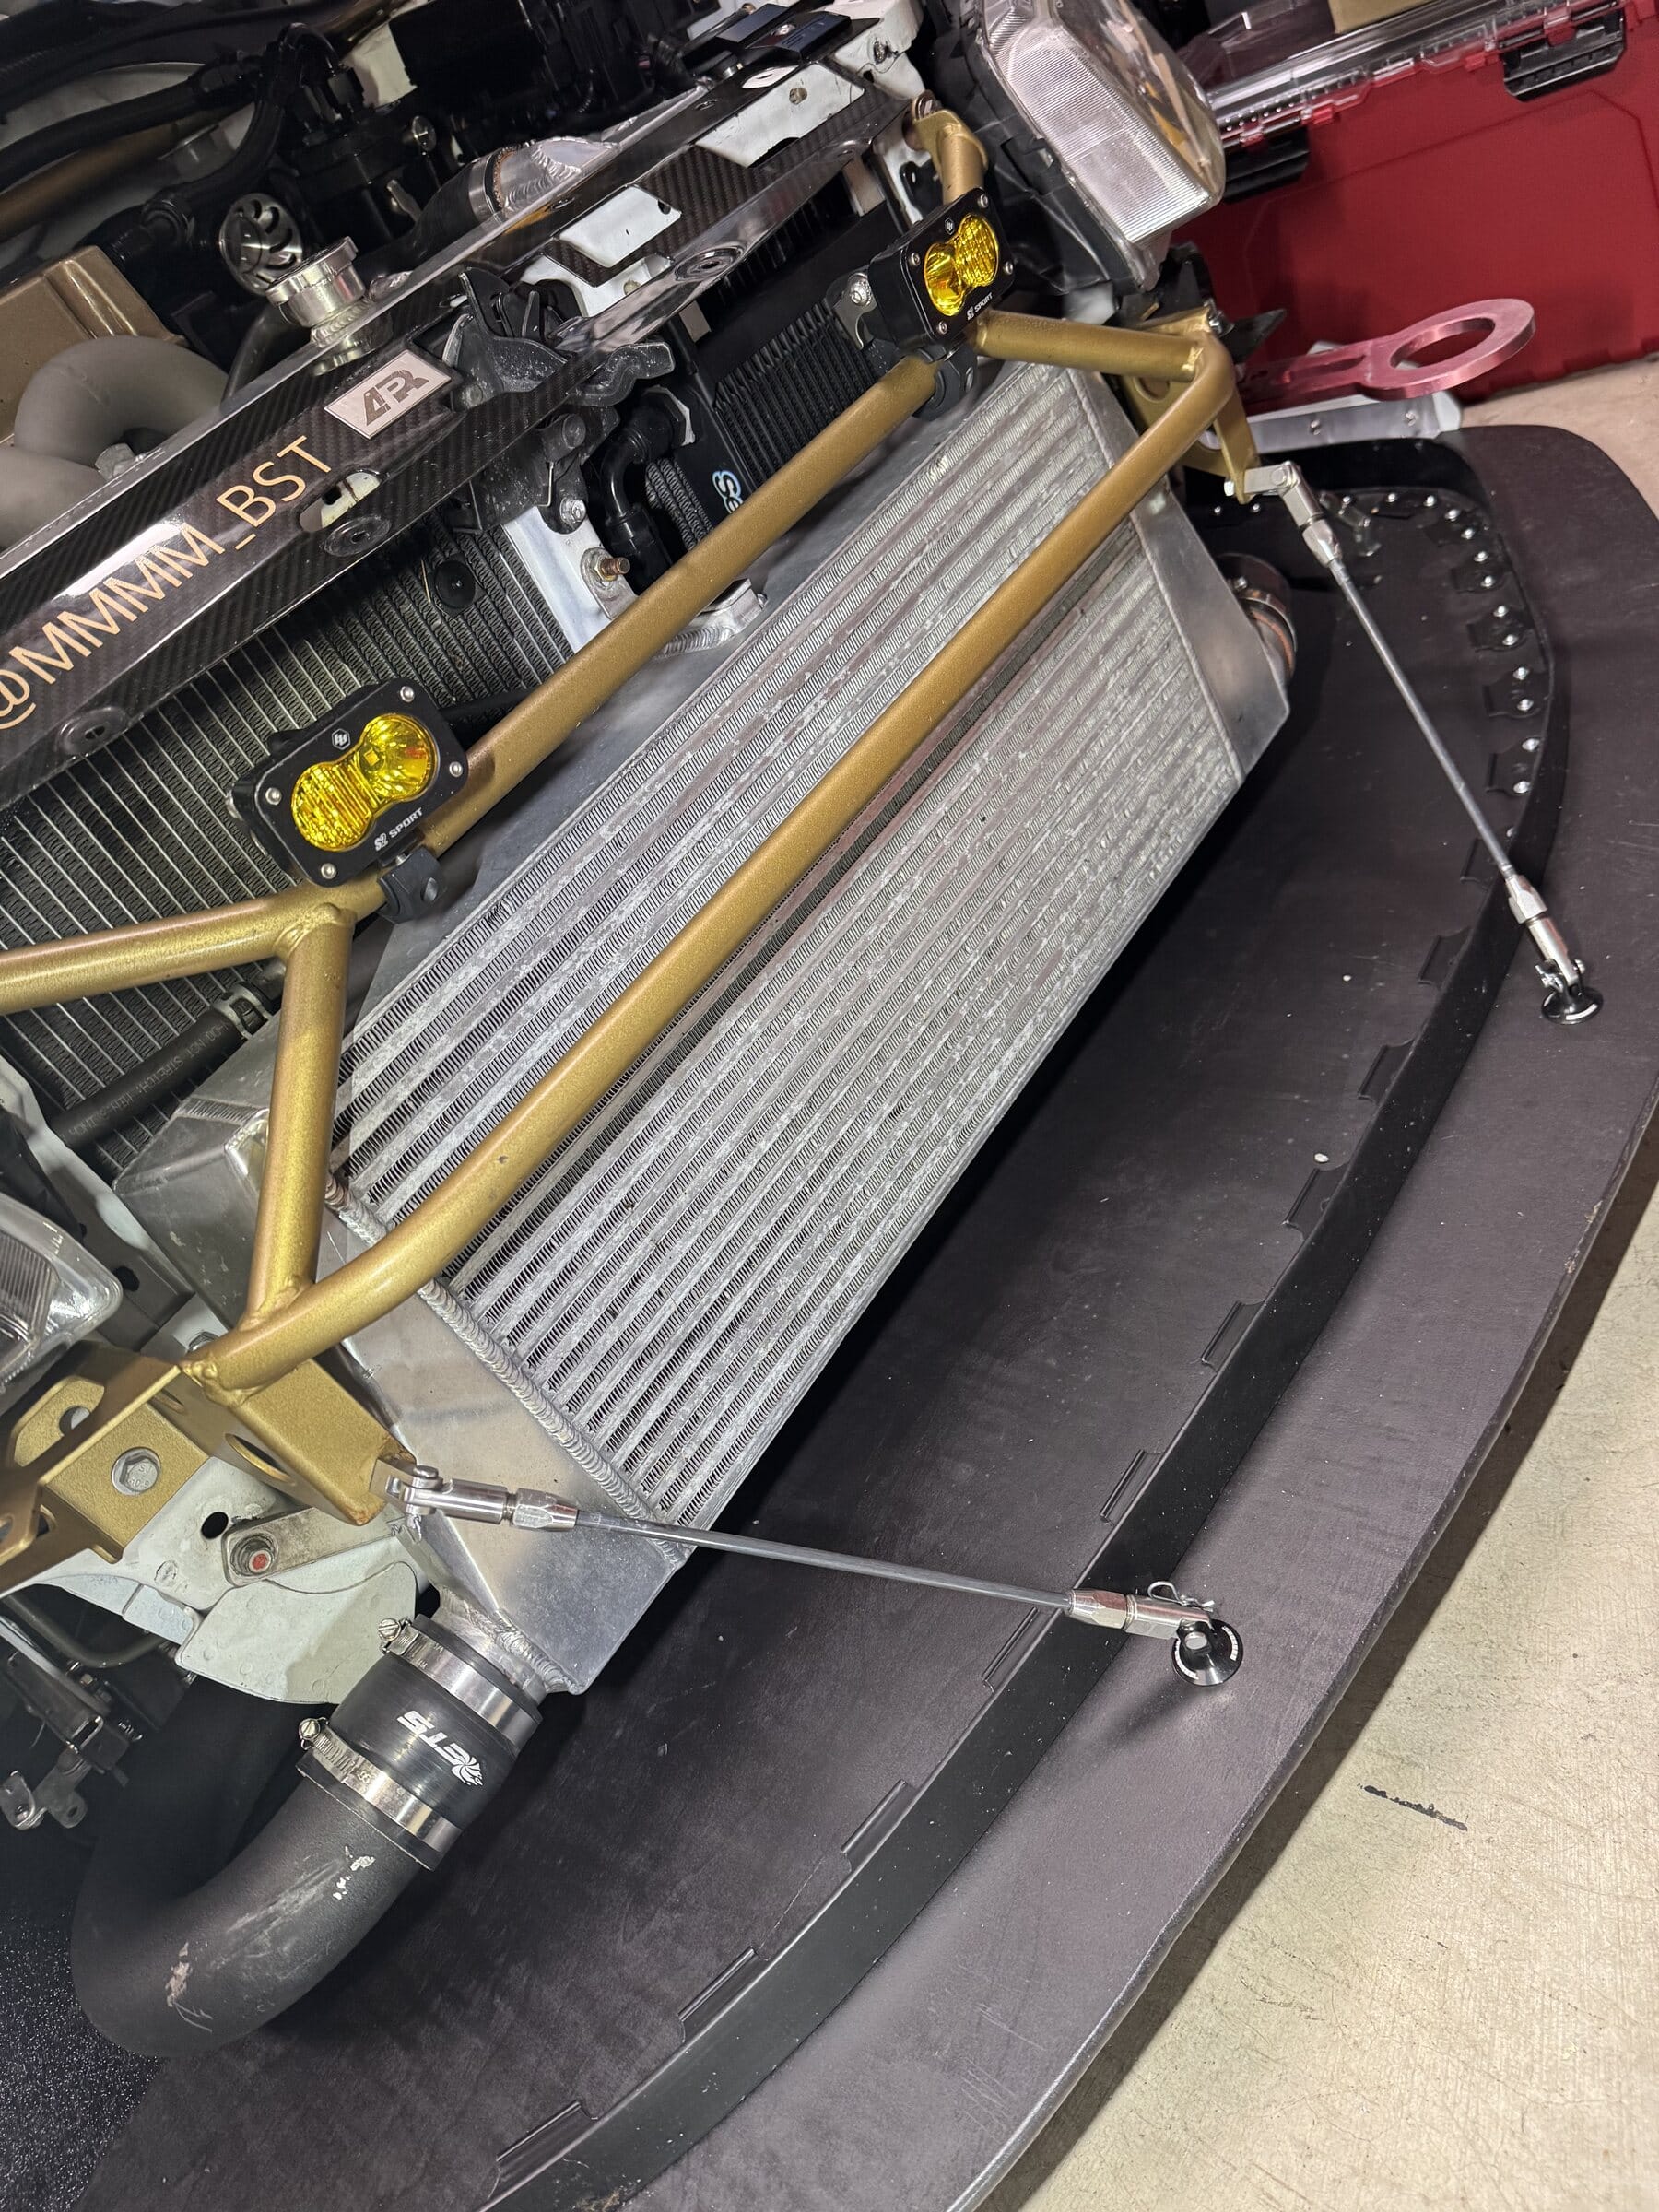
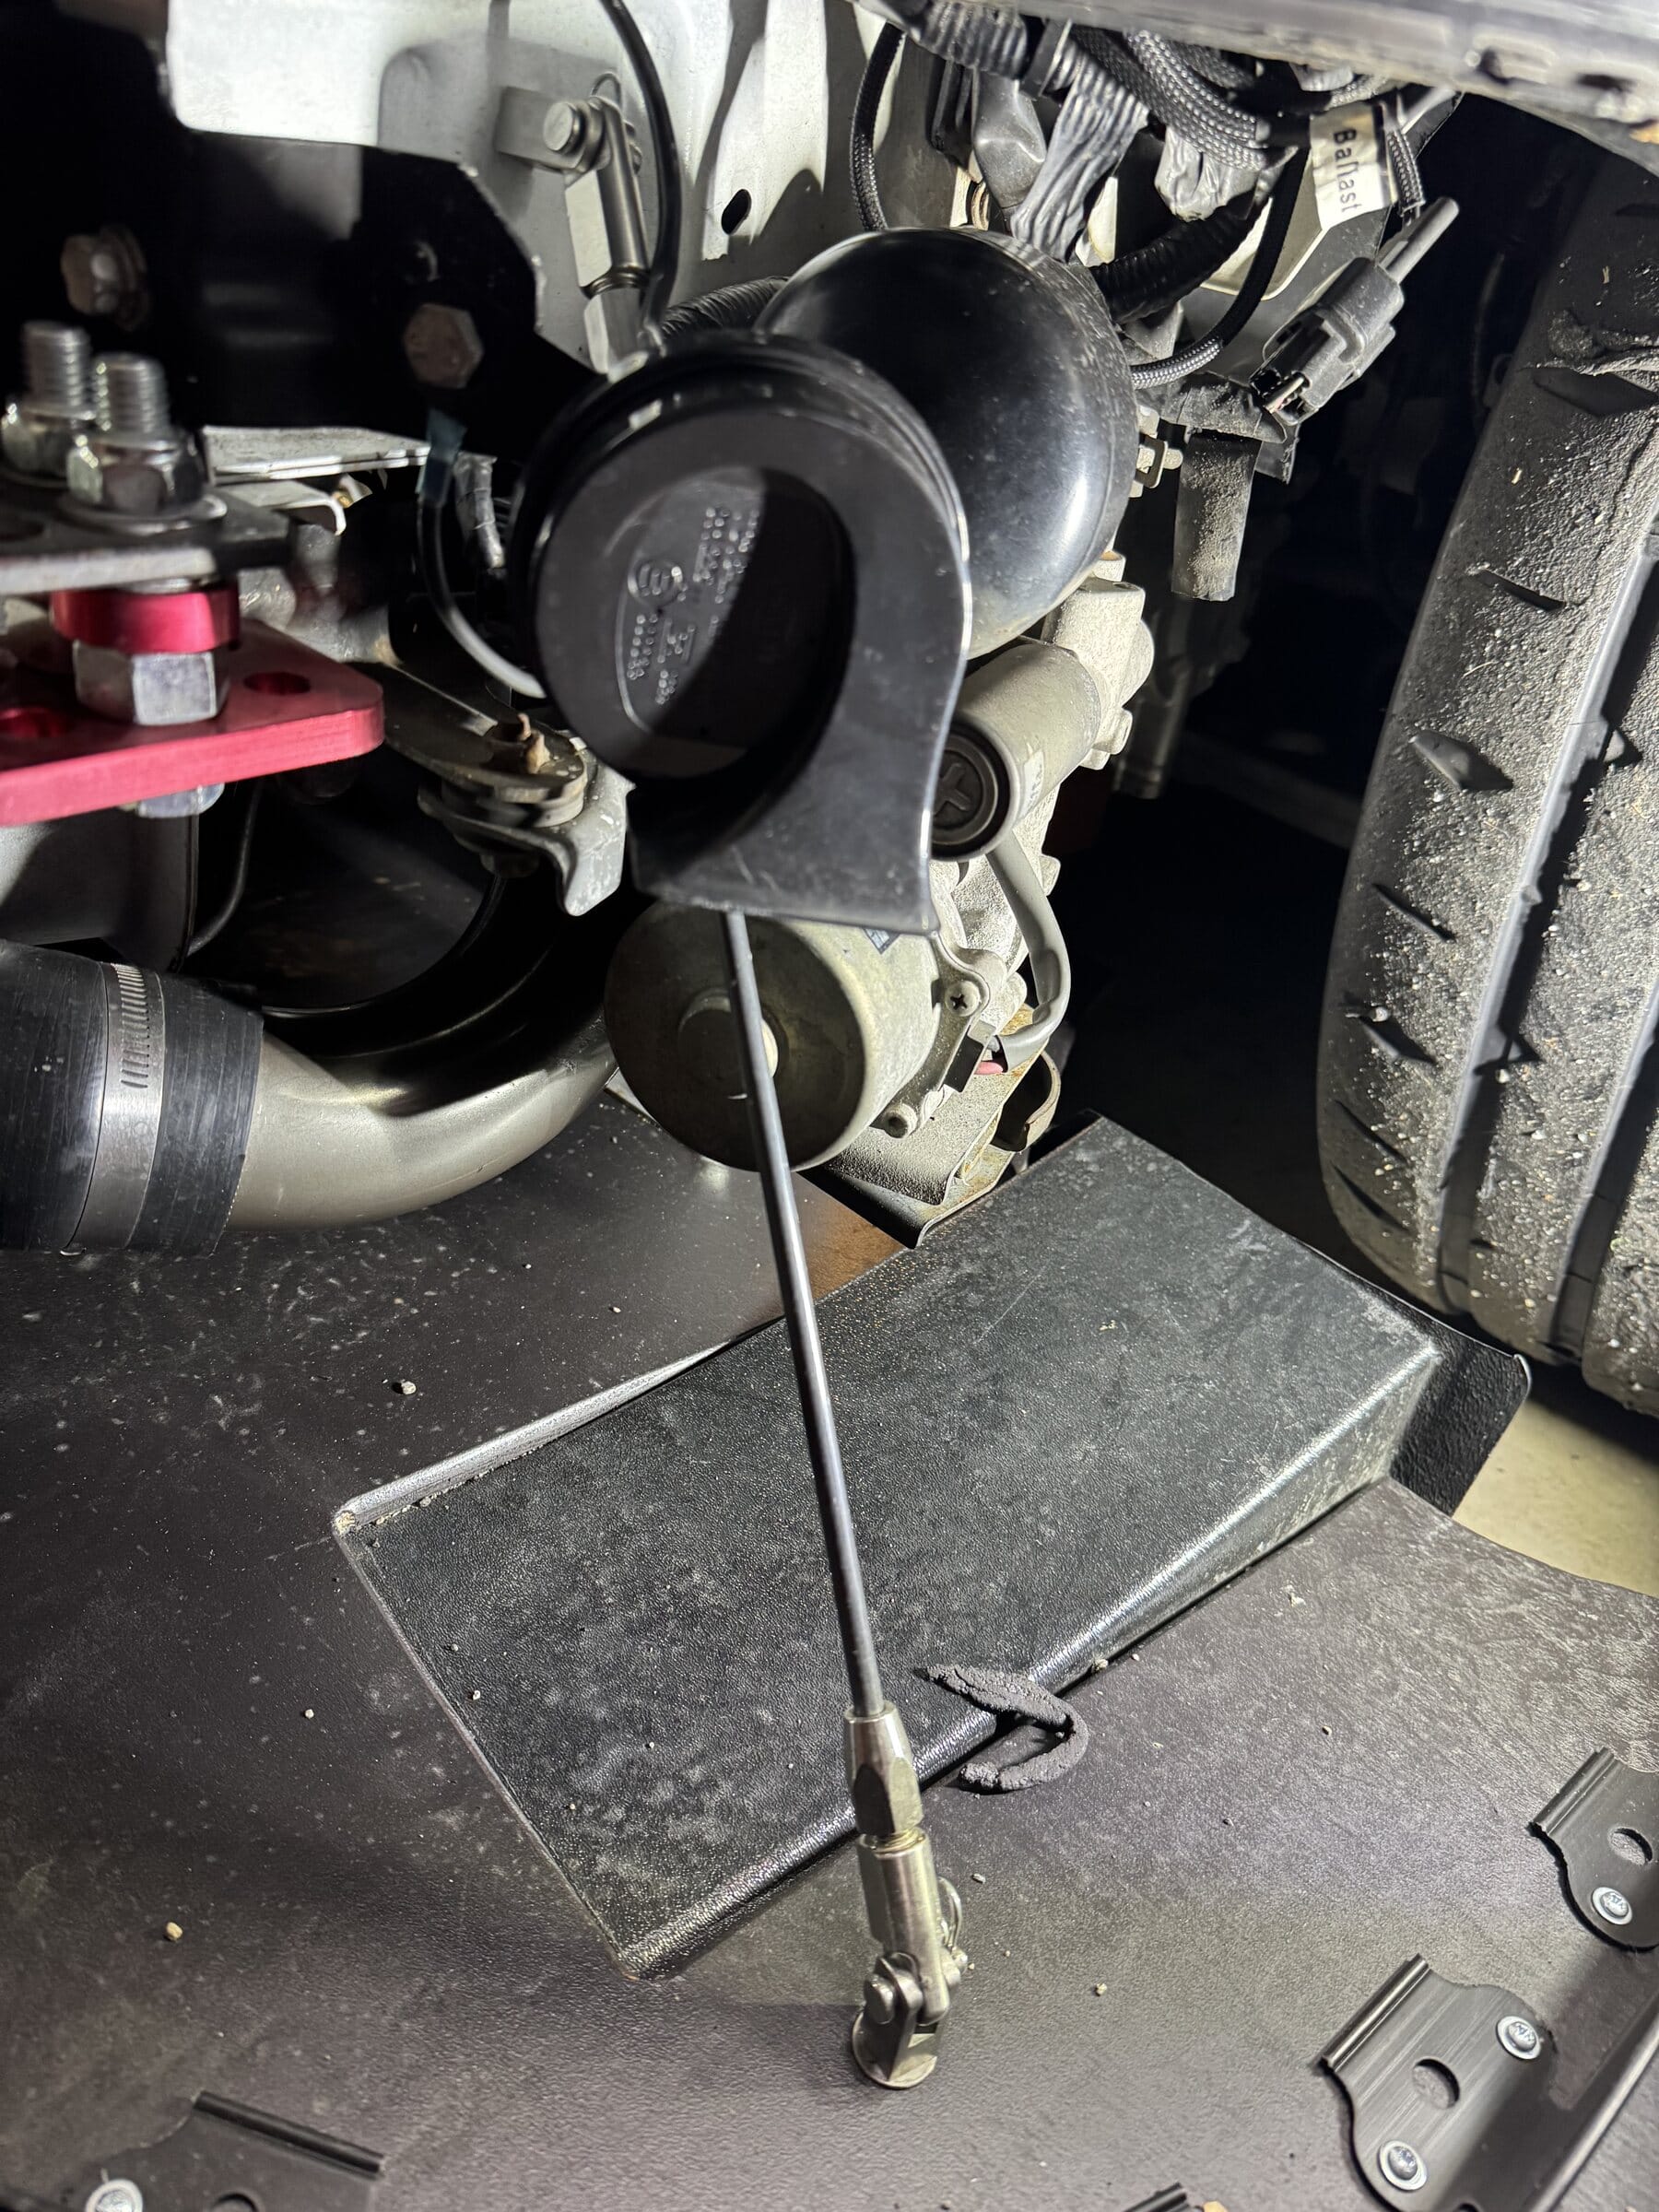
Ryan’s photo sequence documents a practical 2005 Mitsubishi Evo 8 splitter install for owners working without a chassis-specific mounting guide. With the front bumper removed, the photos trace the support system from the frame rails and Cusco power brace to the splitter, support rods, elevator bolts, and small diffusers.
The installation uses the Professional Awesome Universal Quick Release Splitter Support System with individual splitter support rods, elevator bolts, and small diffusers.
Frame-Rail Quick-Release Mounts
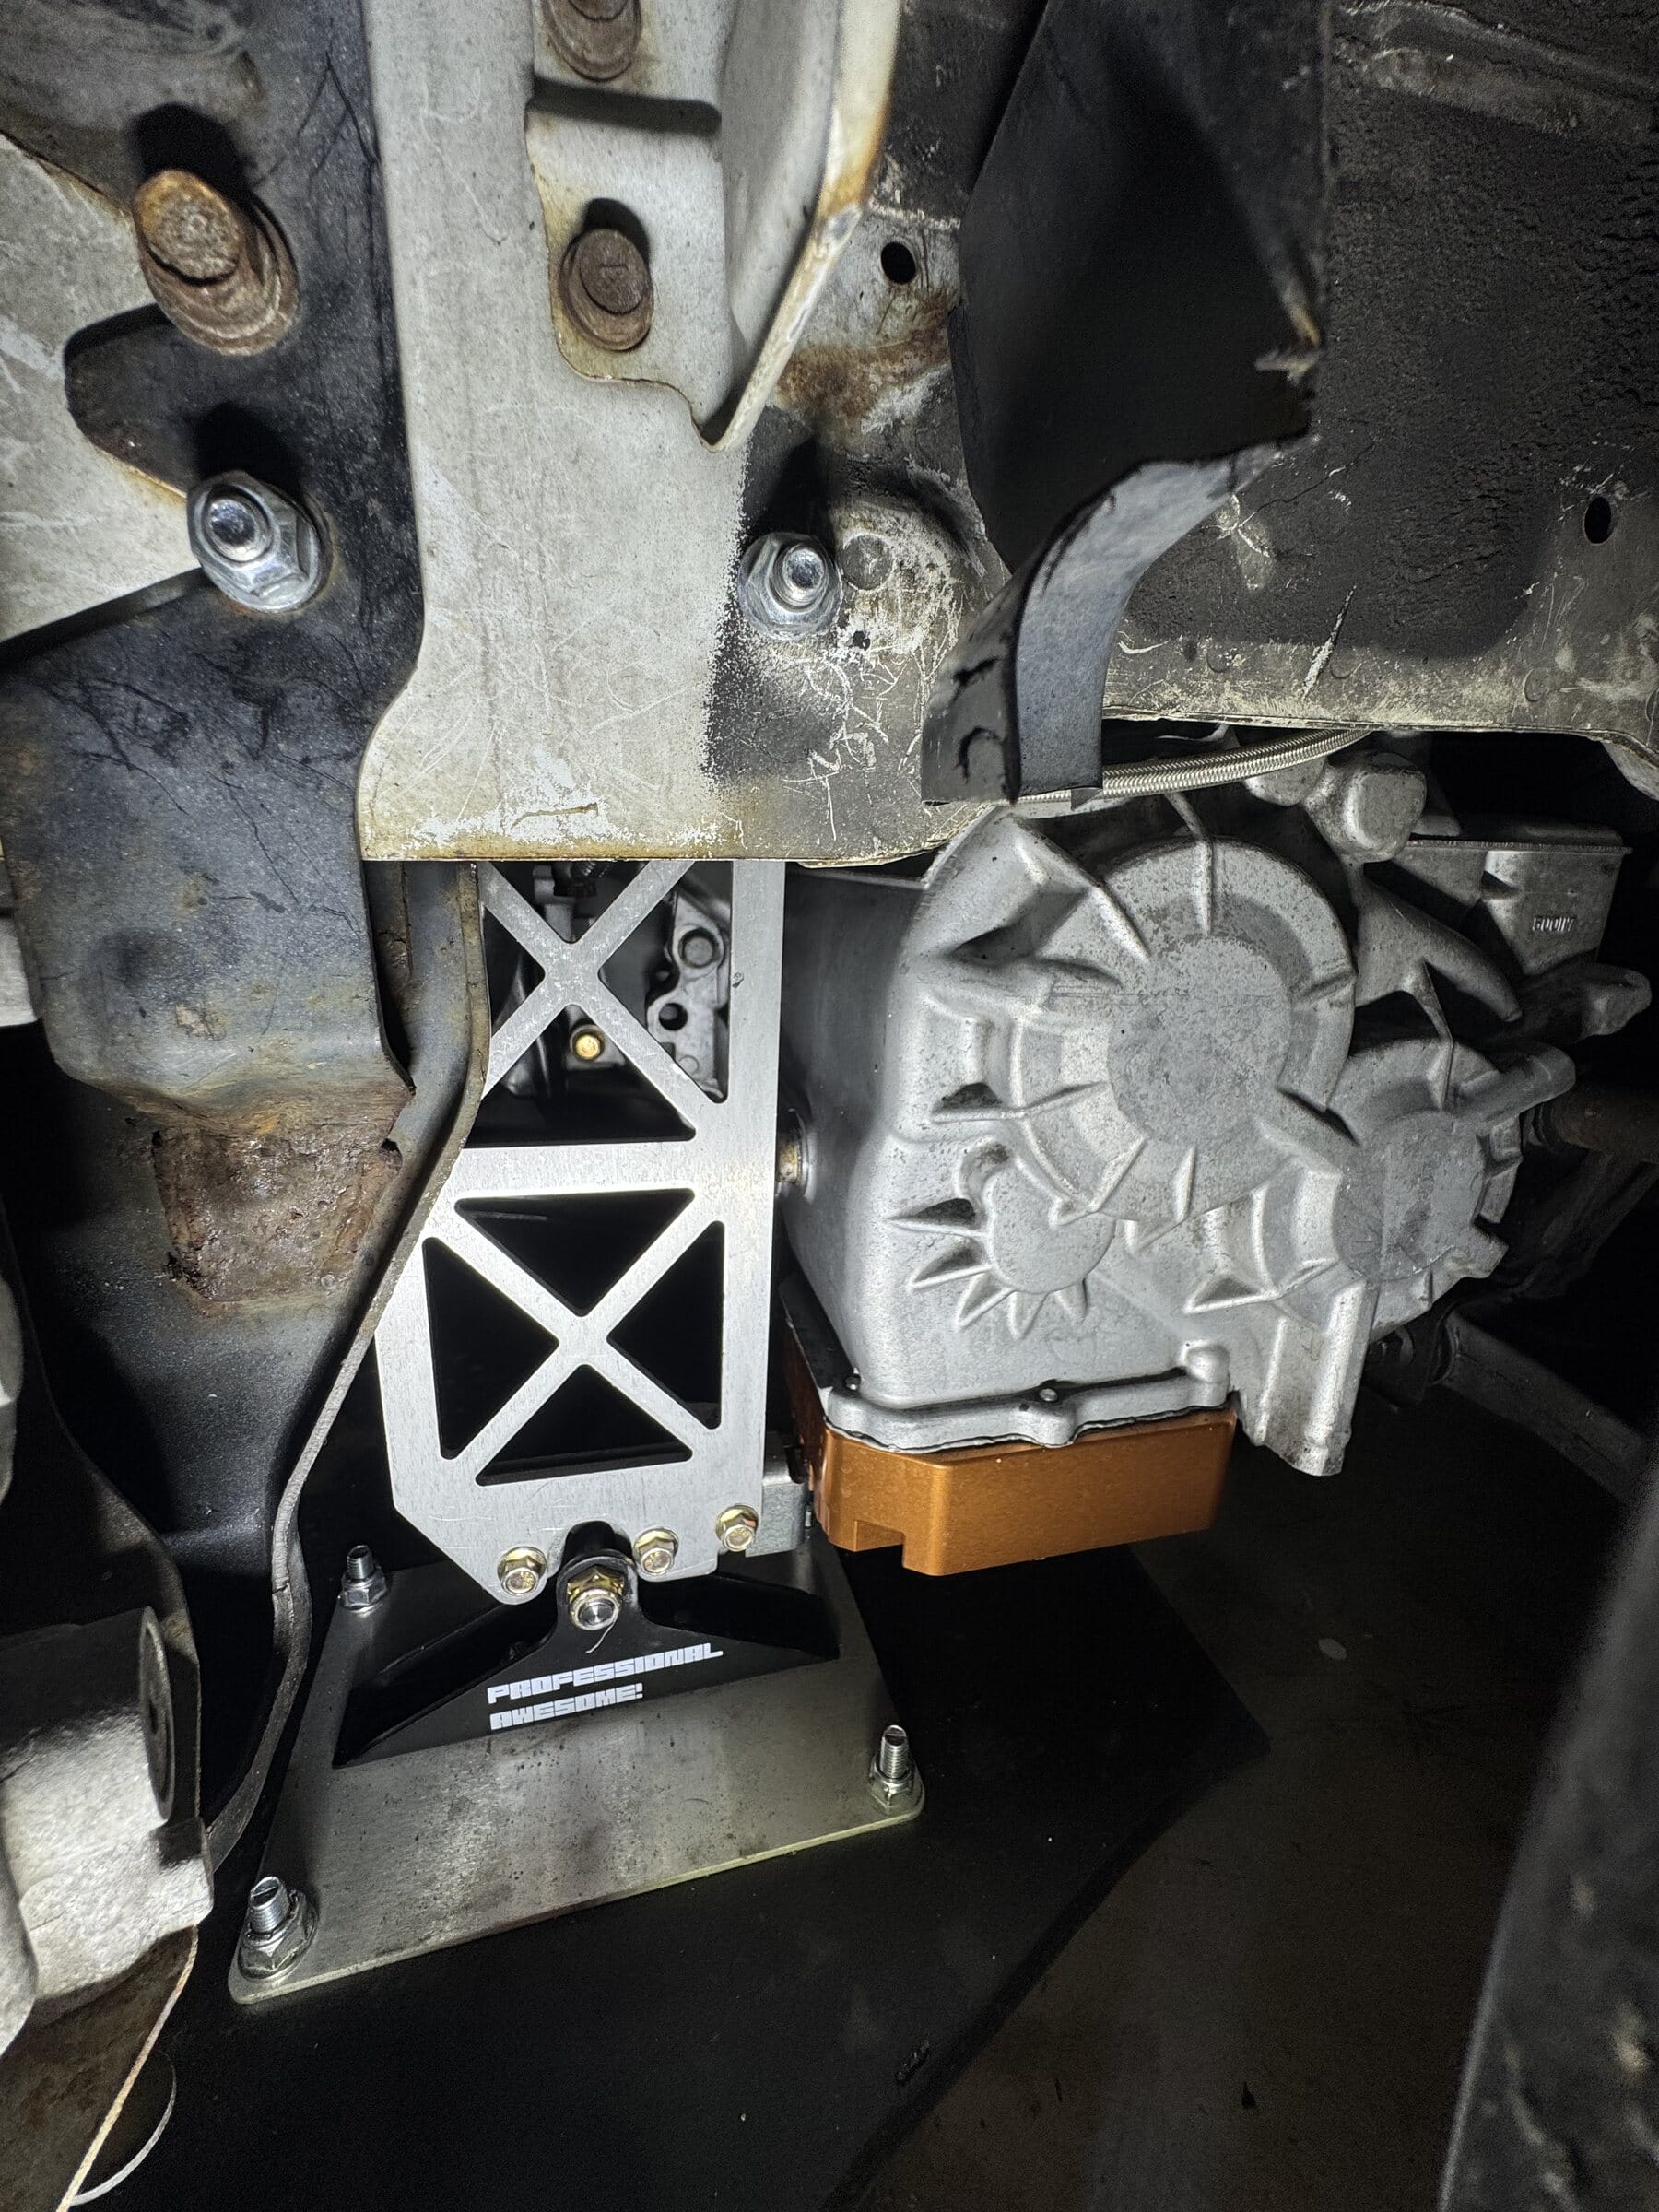
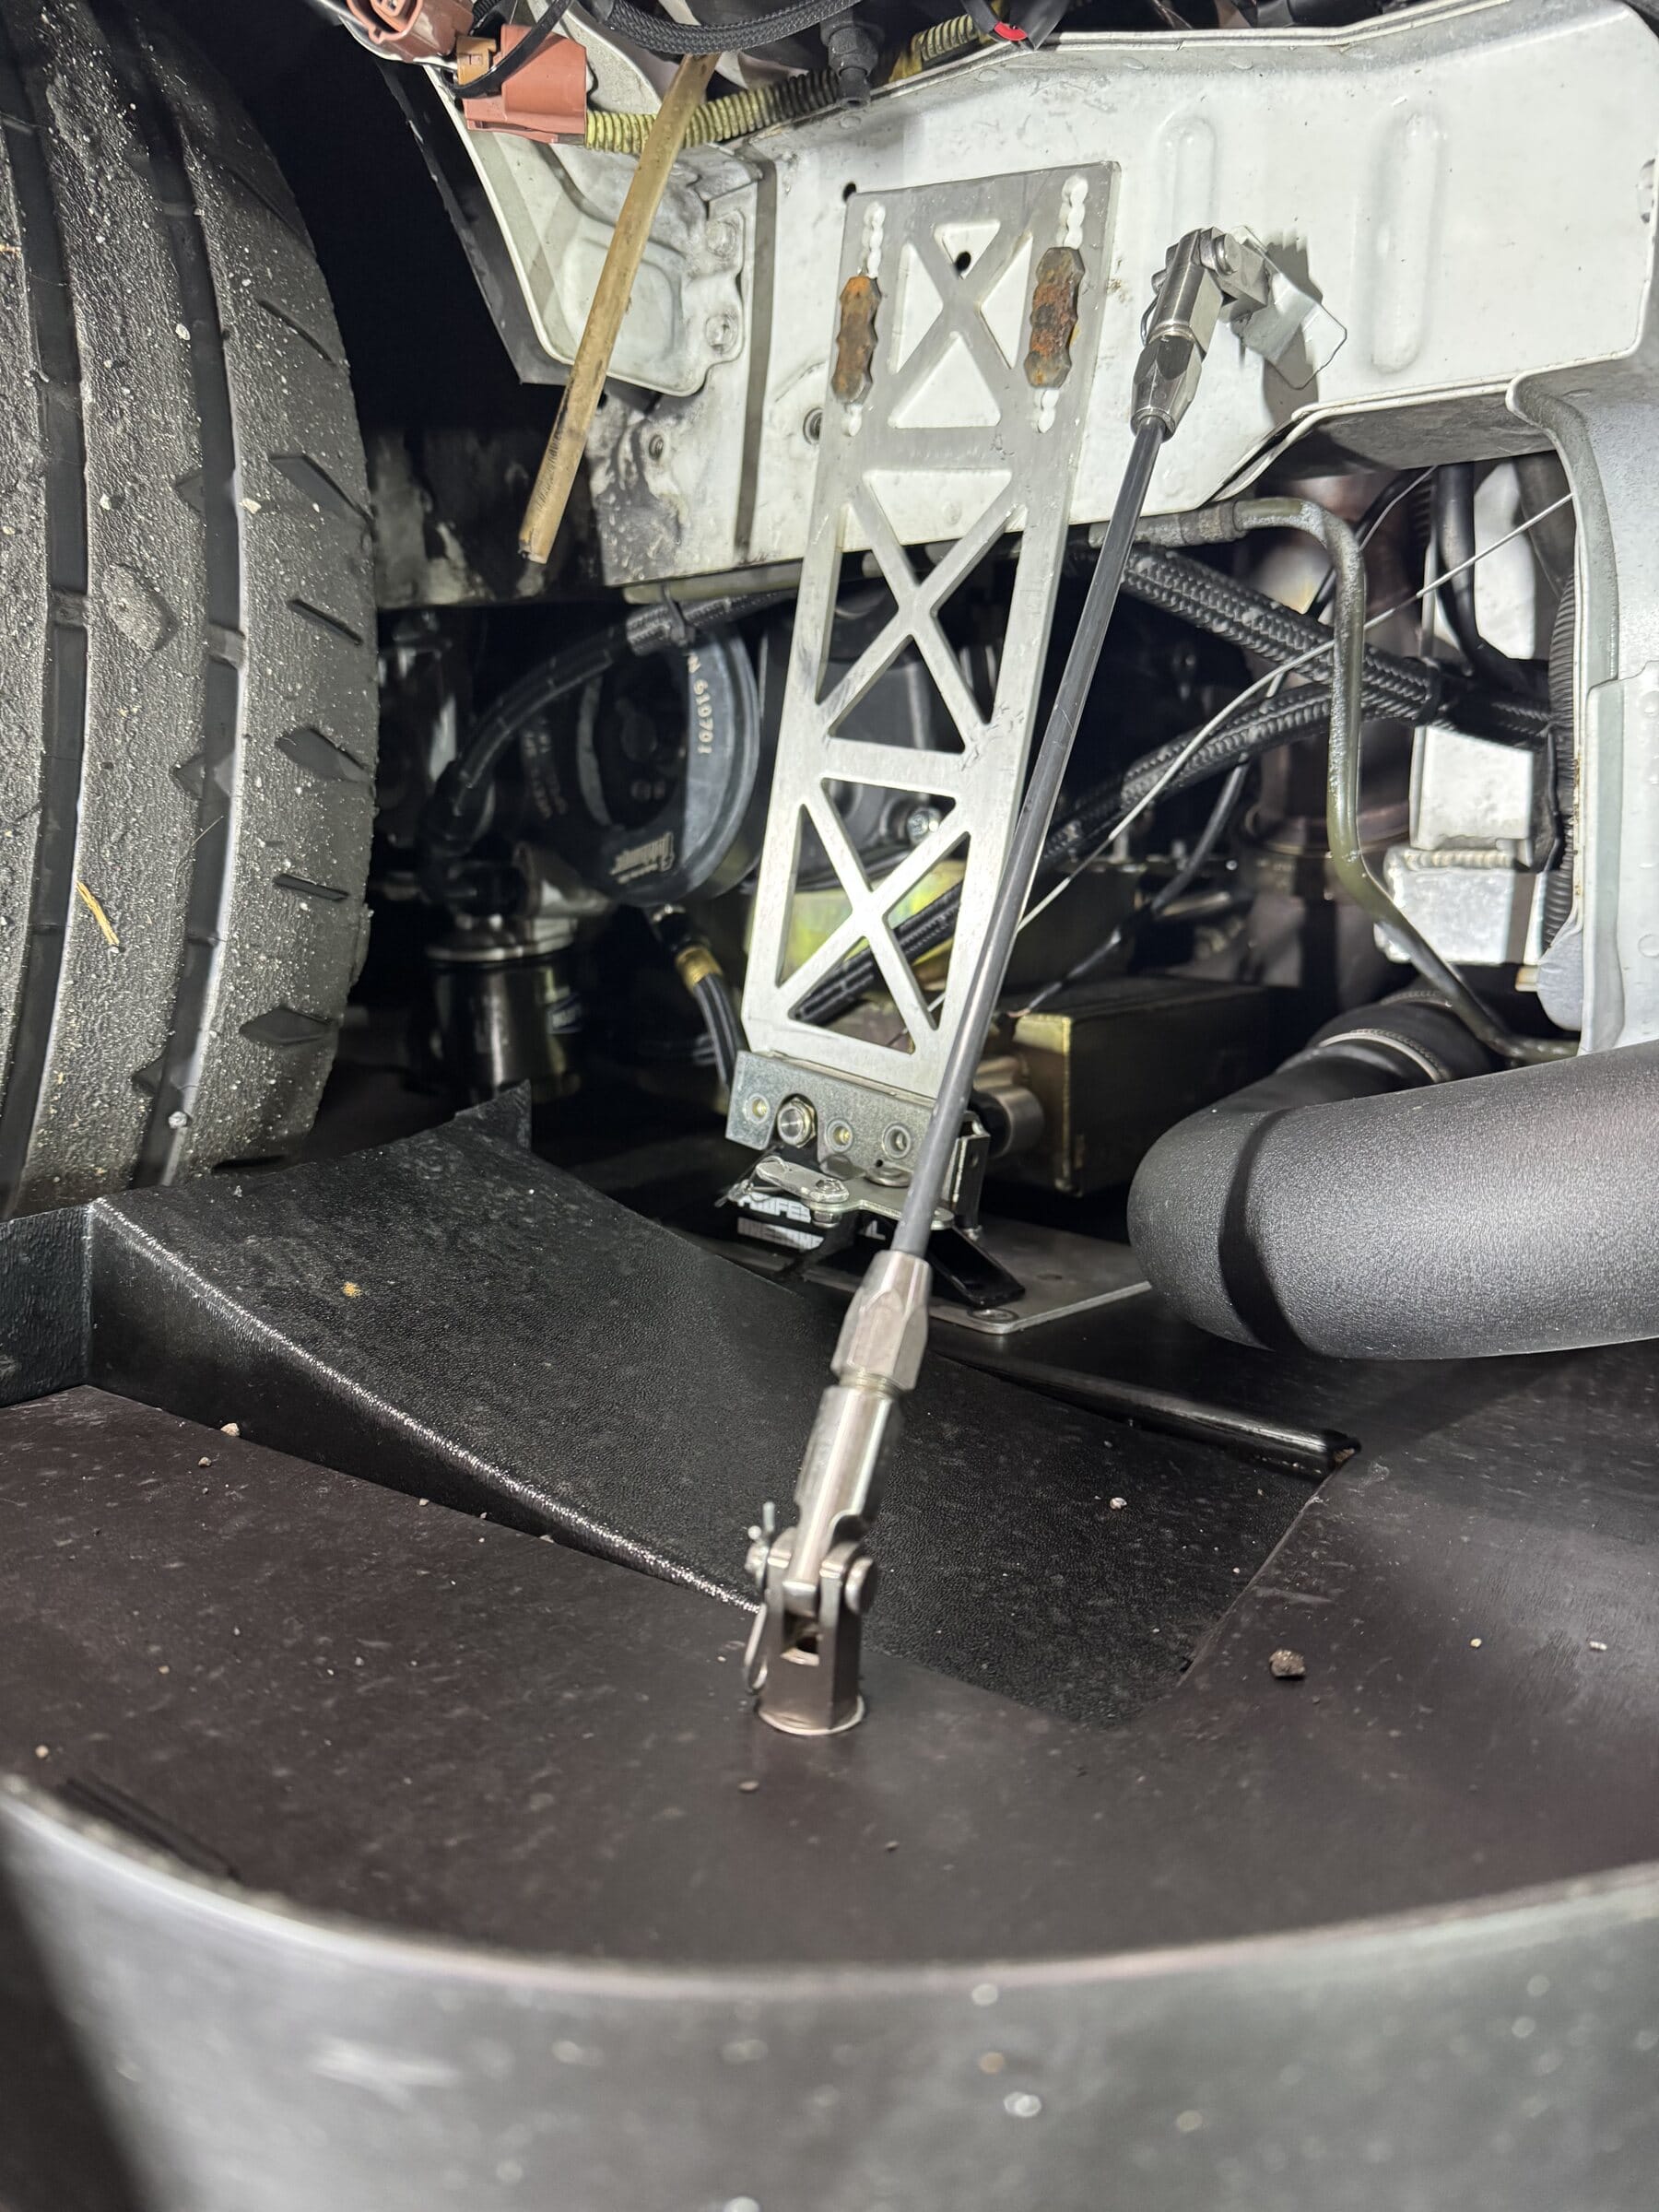
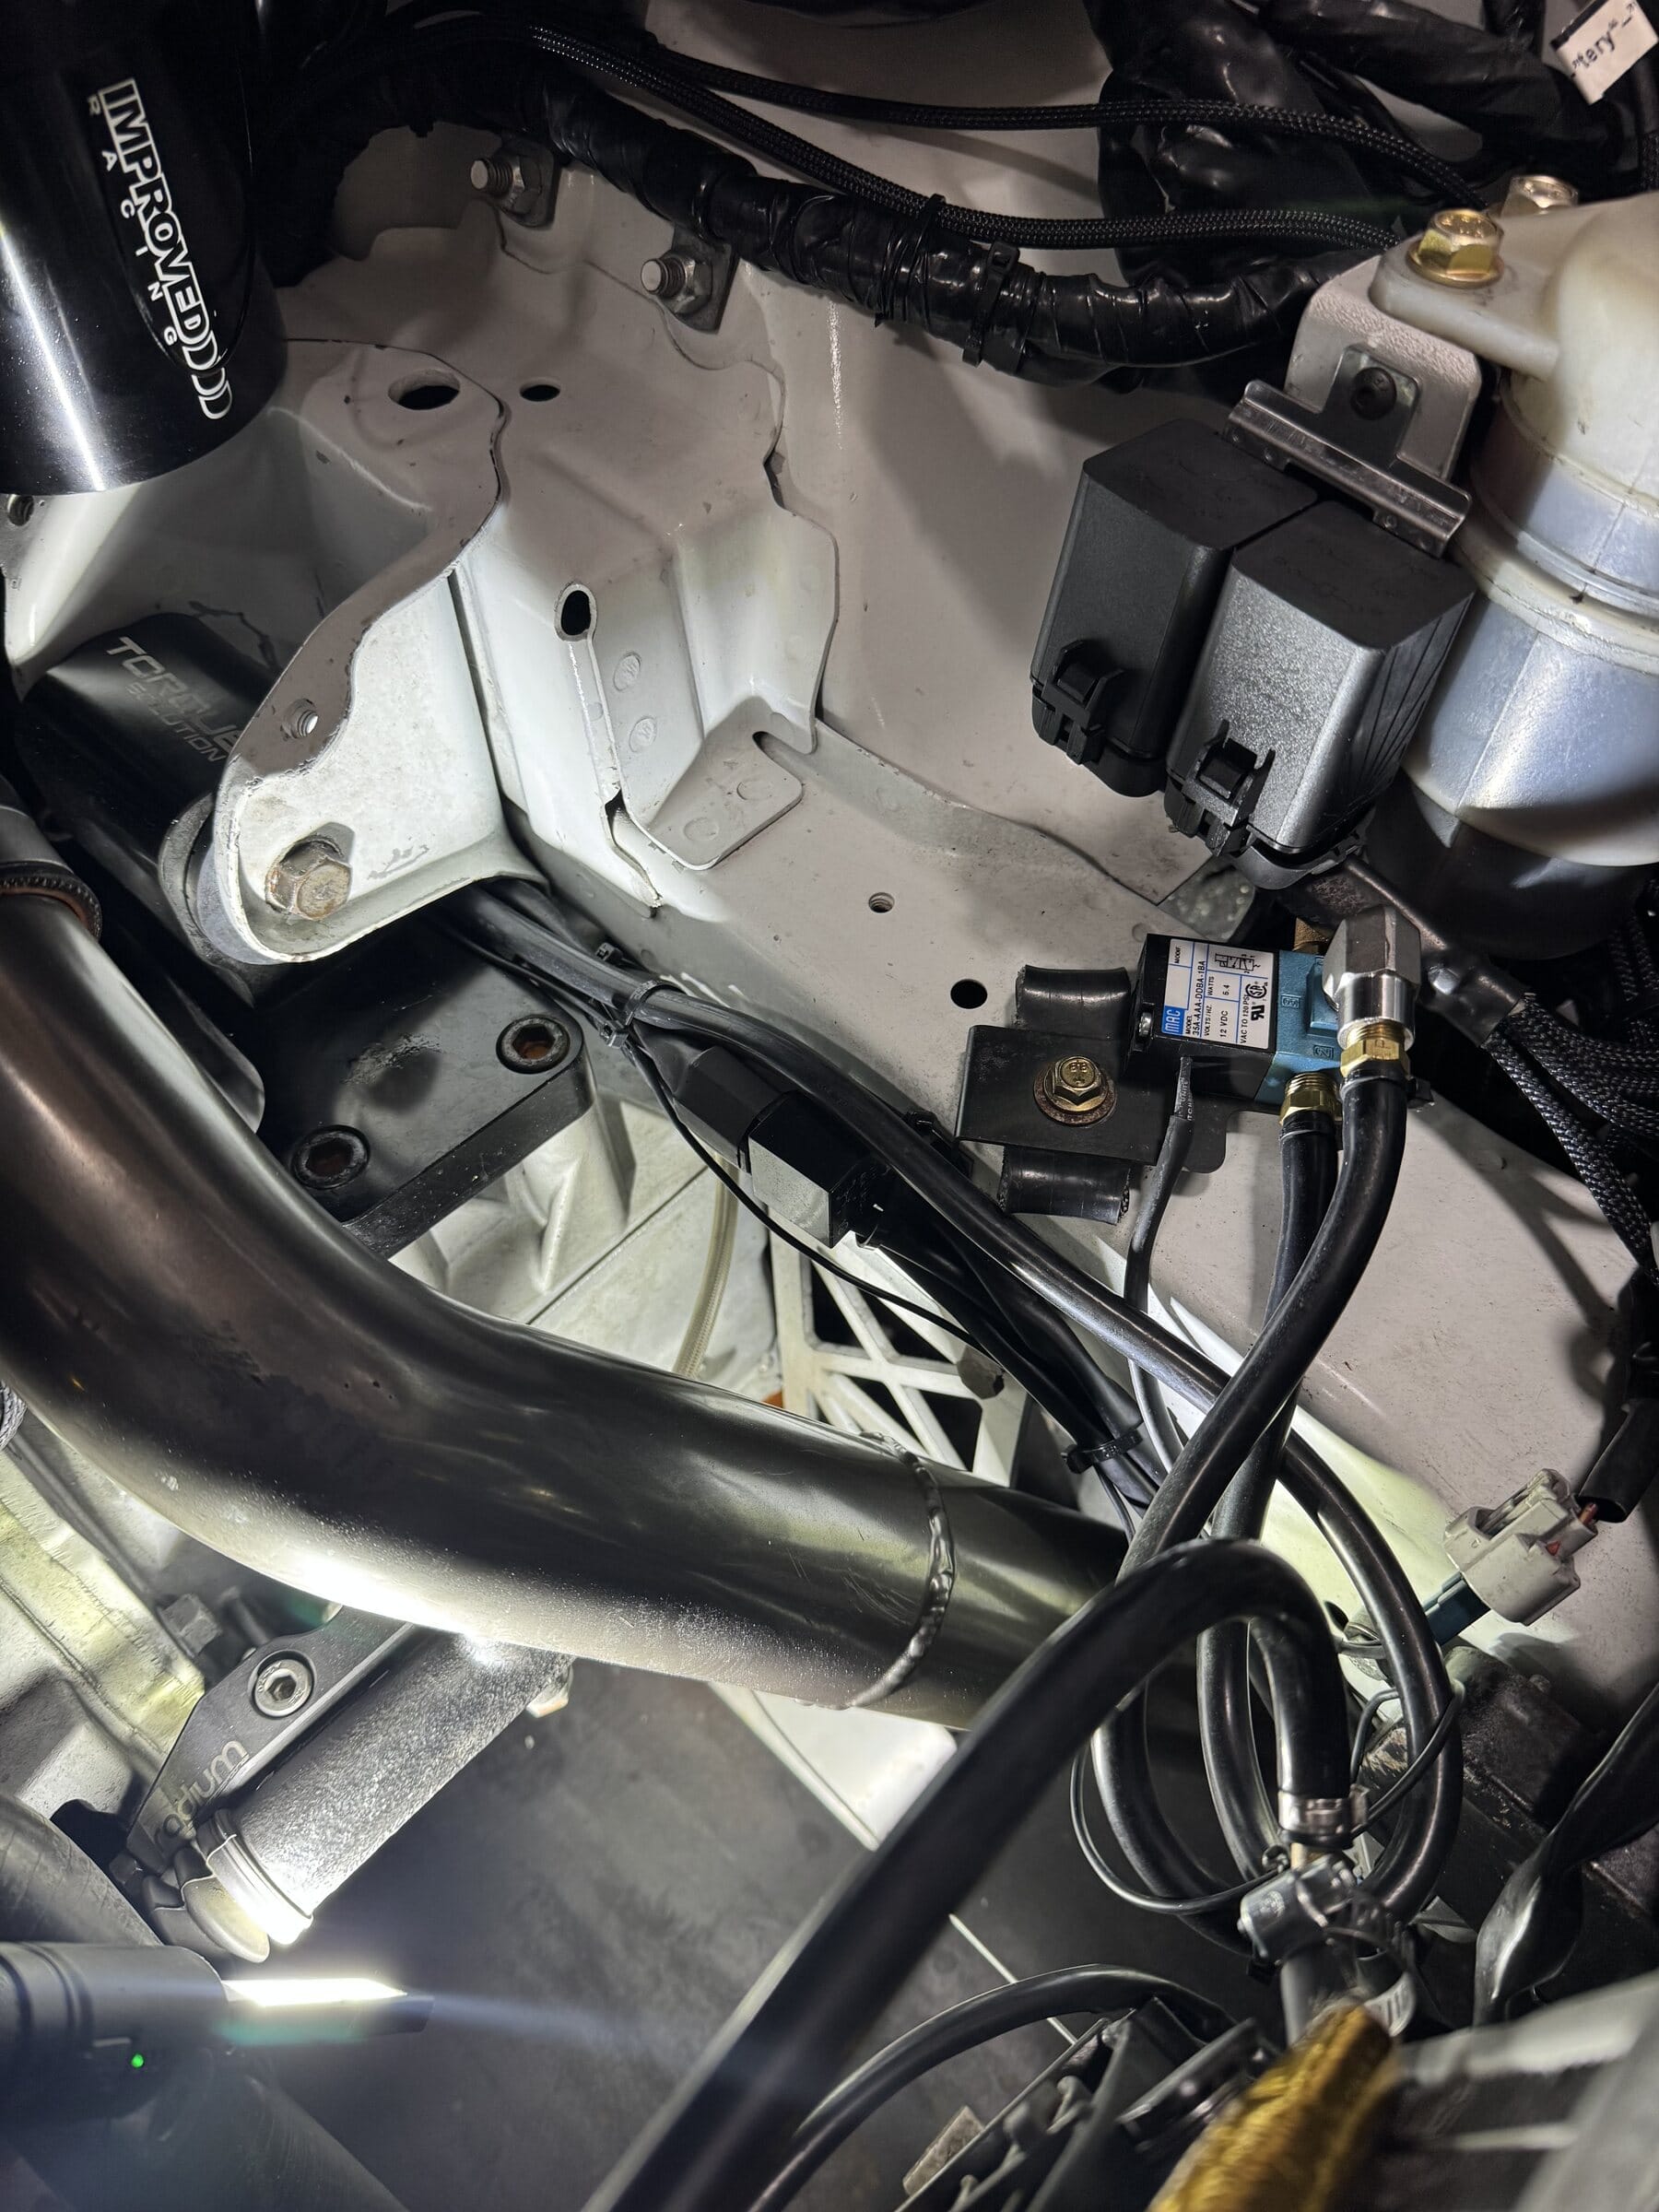
Ryan drilled the frame rails and secured the quick-release splitter support mounts with two M8 grade 10 bolts through the frame. The close-up photos show the mounting hardware from both above and below, along with the bracket position behind the bumper.
Splitter Support-Rod Locations
For the rear splitter rods, Ryan used existing threaded holes in the frame rails. The front rods attach at holes in a Cusco power brace. The bumper-off overview images make the full load path and left-to-right alignment easier to study before the bodywork goes back on.
Customer Notes
“I couldn’t find solid information on where or how to mount a splitter on an Evo 8/9, so I mounted the quick-release support system to the frame rails by drilling the required holes and running two M8 grade 10 bolts through the frame. I used existing threaded holes in the frame rails for the rear splitter rods and attached the front rods to holes in a Cusco power brace.”
Ryan Shaw
Installation Gallery
Professional Awesome
Professional Awesome Notes
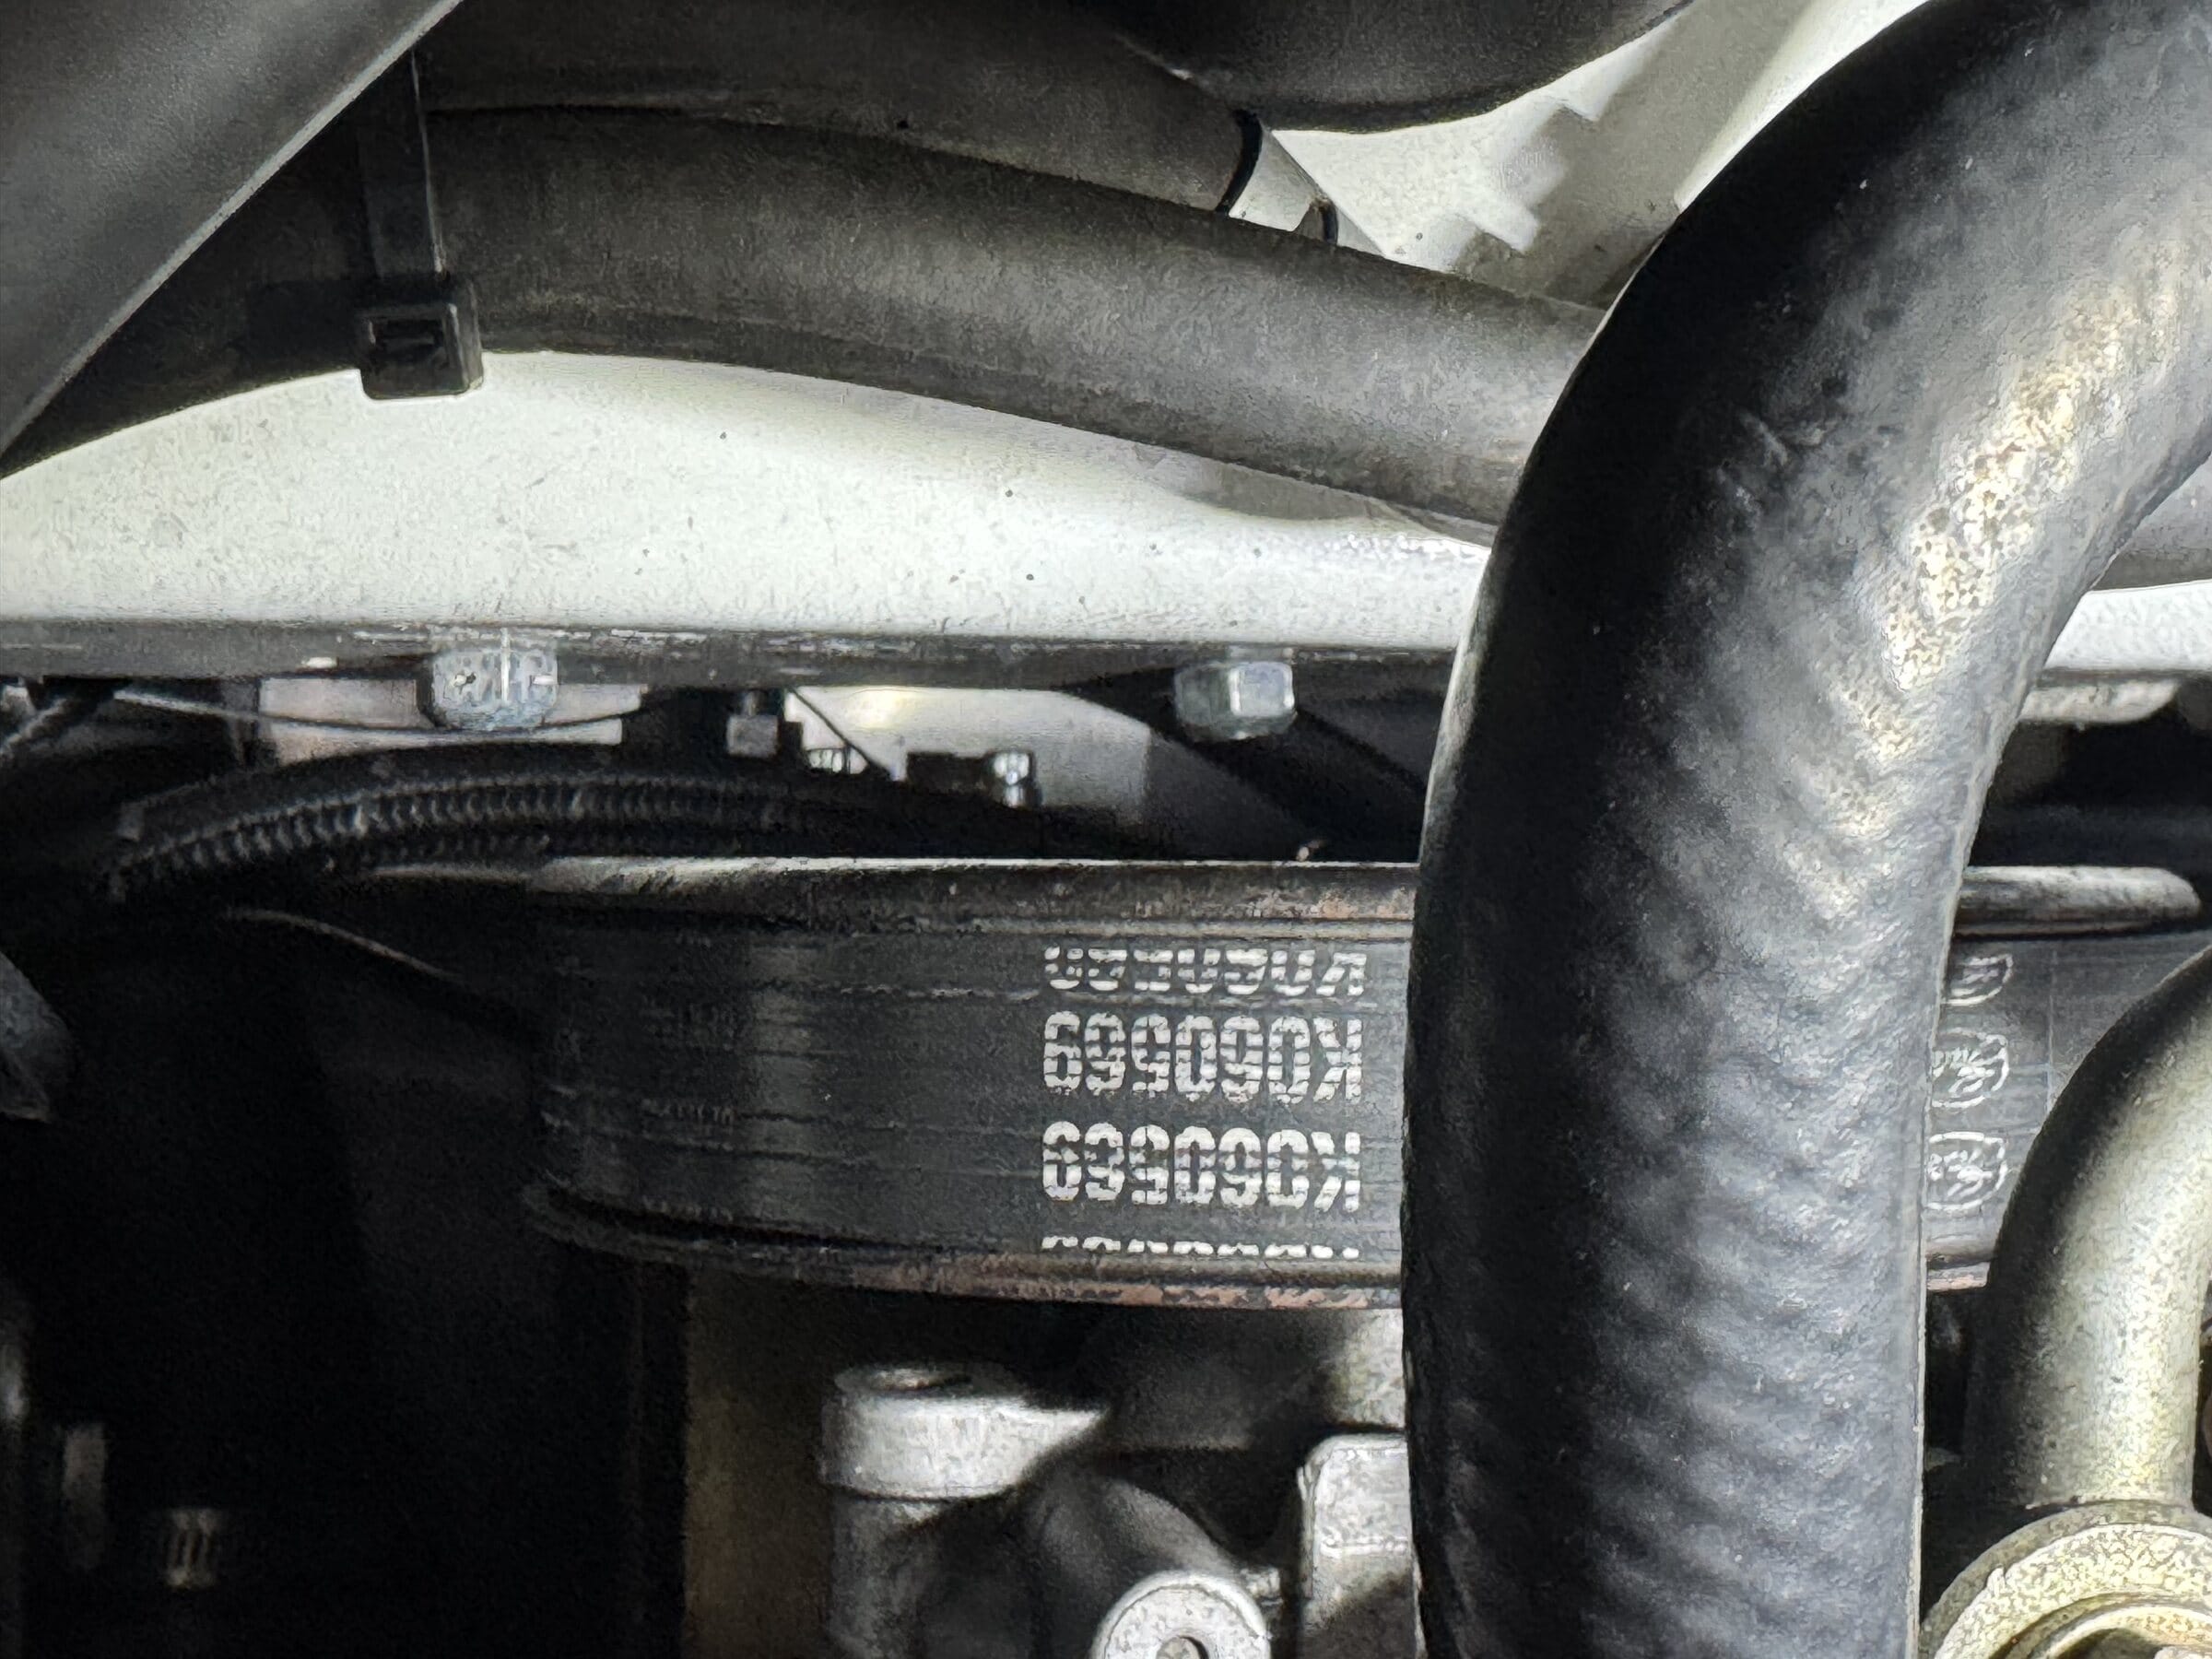
Ryan’s photos document the mounting path from the chassis to the splitter with the bumper removed, making the load path easier to study. The frame-rail brackets, existing threaded holes, front Cusco-brace attachment points, support rods, elevator bolts, and small diffusers are all visible. This is a custom installation example, not a universal drilling specification. Before drilling structural members, inspect both sides for wiring, lines, corrosion, and access; verify edge distance, hardware engagement, reinforcement needs, and alignment for the specific car and intended loads.
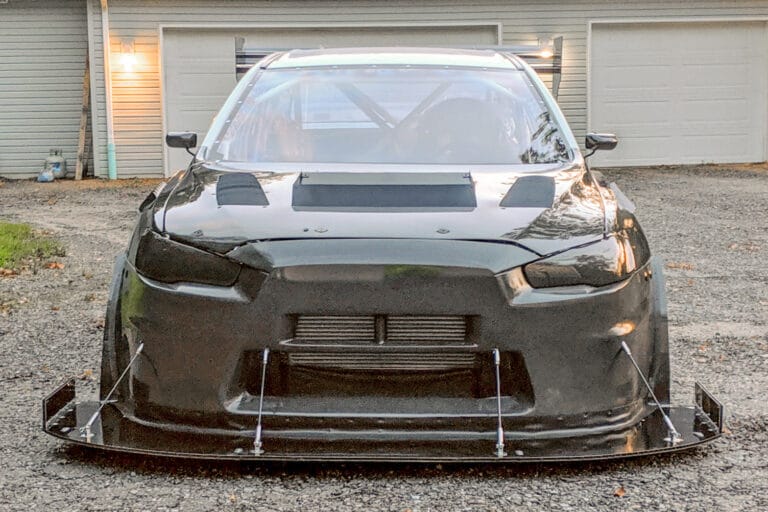
Mitsubishi · Lancer Evolution X · 2008-2016 CZ4A
Mitsubishi Lancer Evolution X — Splitter Support Rods
See the mounting approach, finished result, and notes from this customer installation.

Mazda · Miata · 1989-1997 NA
1990 Mazda Miata — Splitter Support Rods
For this setup, custom frame-rail drop brackets were fabricated from 3/8-inch aluminum. These brackets provided a solid mounting location below the frame rails for the splitter support system.
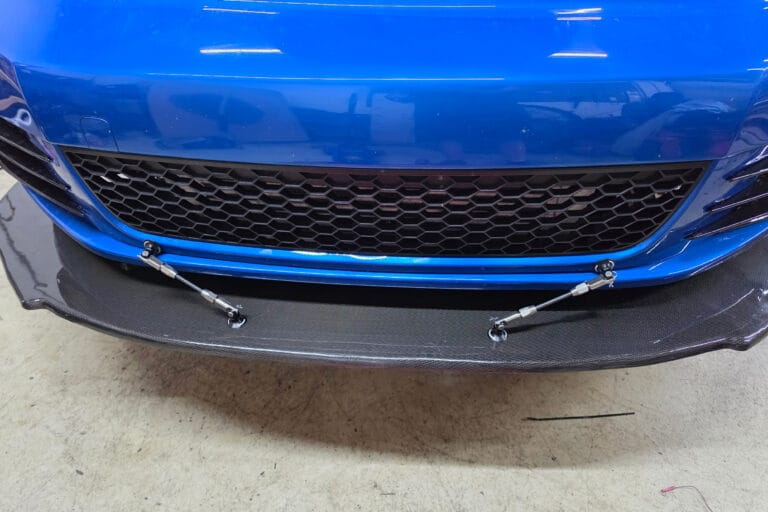
VW · Beetle · 1998-2005 Type 1C
2002 VW Beetle — Splitter Support Rods
The customer trimmed the large universal mounting plates to fit the application. They noted that the setup turned out great and made the splitter very easy to remove.
Have an install worth sharing?
Mounting-detail photos and honest notes can save the next builder hours of guesswork.