

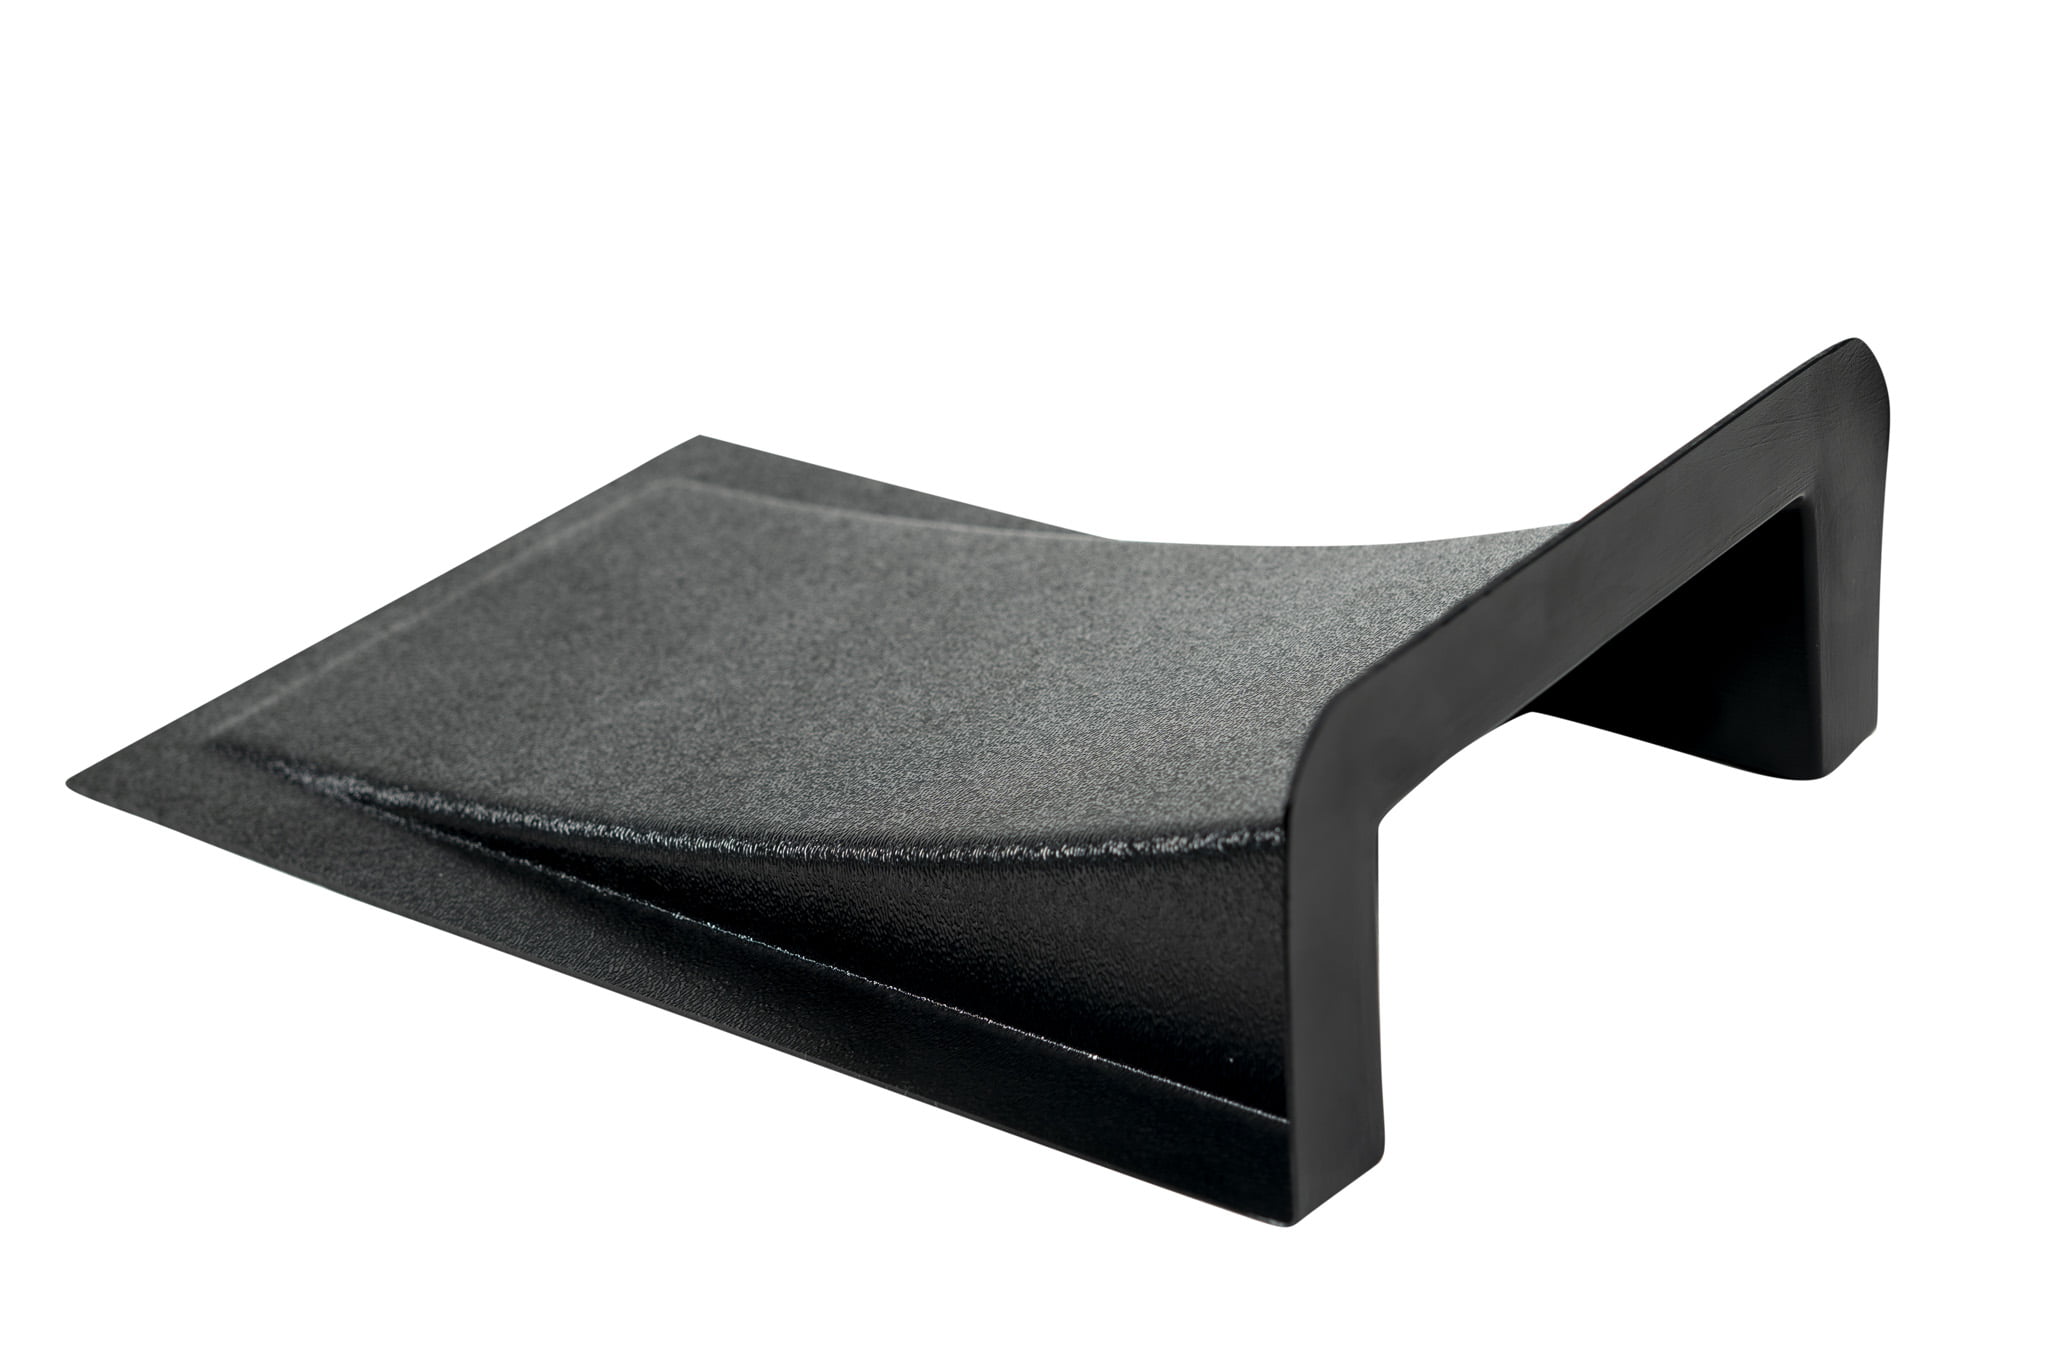
Description
Why We Built These Splitter Diffusers
A flat splitter can produce useful front downforce, and adding a well-designed diffuser can increase that downforce, often with relatively little drag penalty. Our goal was to make that benefit available across many different splitter designs at a fair price for the everyday enthusiast. These compact diffusers give the airflow a controlled expansion path, helping increase the pressure difference across the splitter and improving its front-downforce potential.
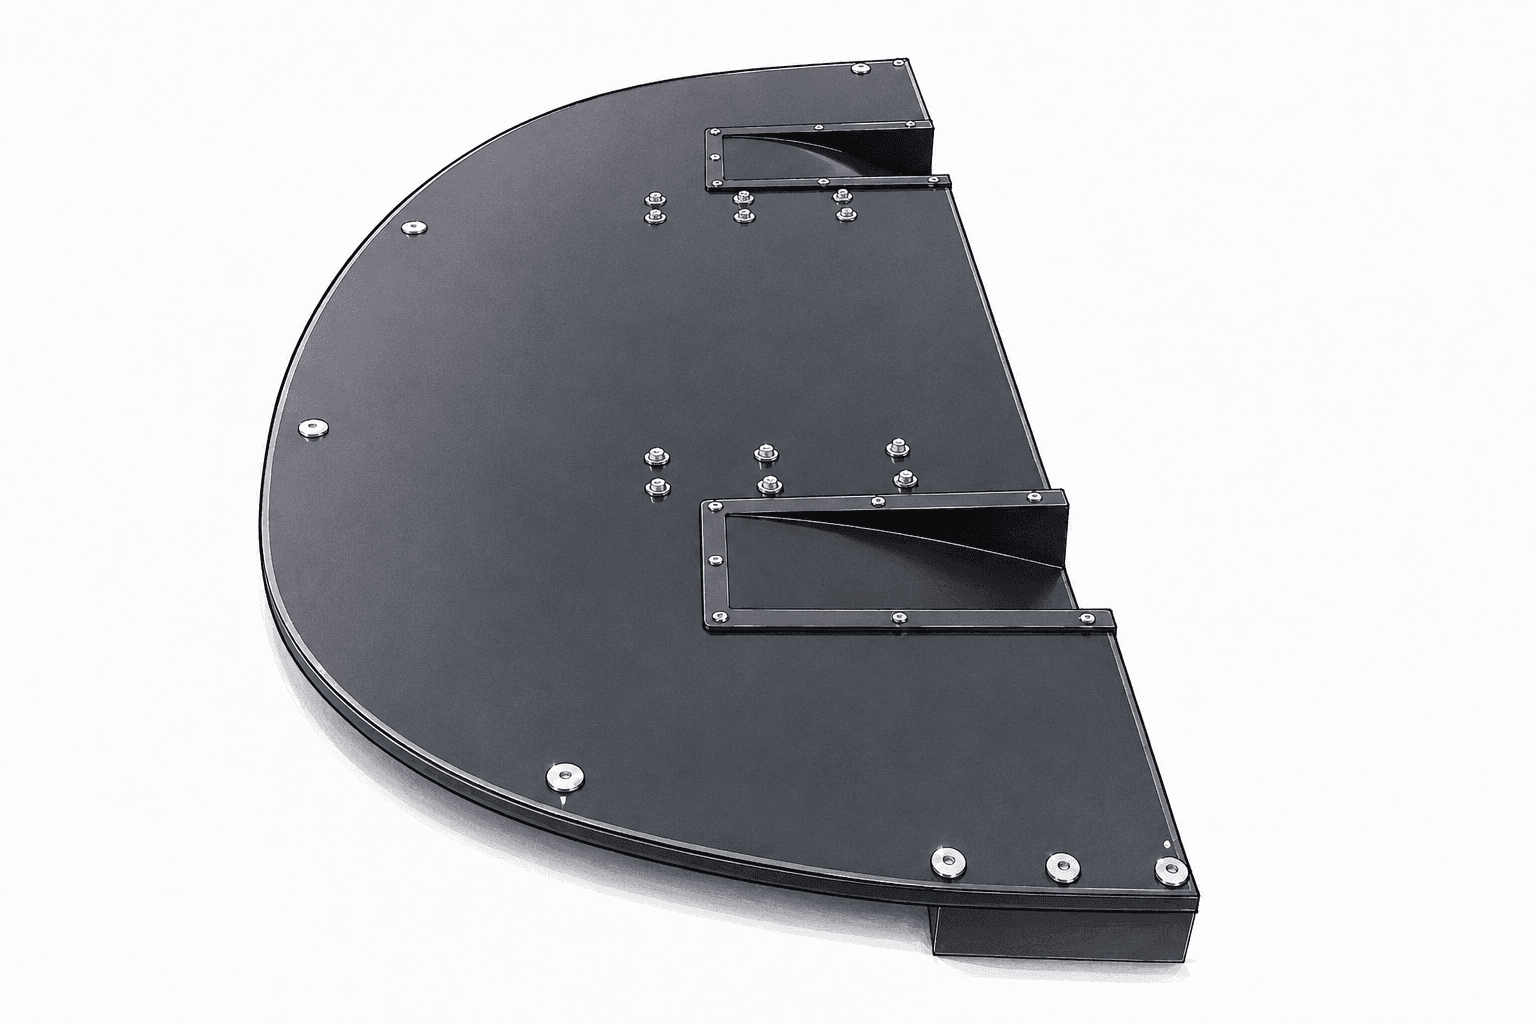
Their shape was developed using CFD to manage the airflow while fitting within the packaging limits of real track cars. They install in openings cut into a flat splitter, with the shallow throat facing forward and the taller outlet facing rearward. Splitter height, placement, nearby obstructions, sealing, blade stiffness, and the rest of the car’s aerodynamic balance all affect the result. This guide explains what fits, how to install the diffusers, and how to evaluate the system safely.
The Short Version
- A pair of compact splitter diffusers designed to increase the downforce potential of a flat splitter.
- Our third-generation design uses vacuum-formed black ABS and a revised outlet flange that reduces flex and bending. Either diffuser fits either side of the car.
- Each diffuser measures approximately 12 inches long, 6 inches wide, and 2.5 inches tall, with a 1-inch mounting flange.
- The splitter blade must be cut to fit the ramp and expansion area.
- Mounting hardware is not included because the correct fasteners depend on the splitter material and construction.
How a Splitter Diffuser Works
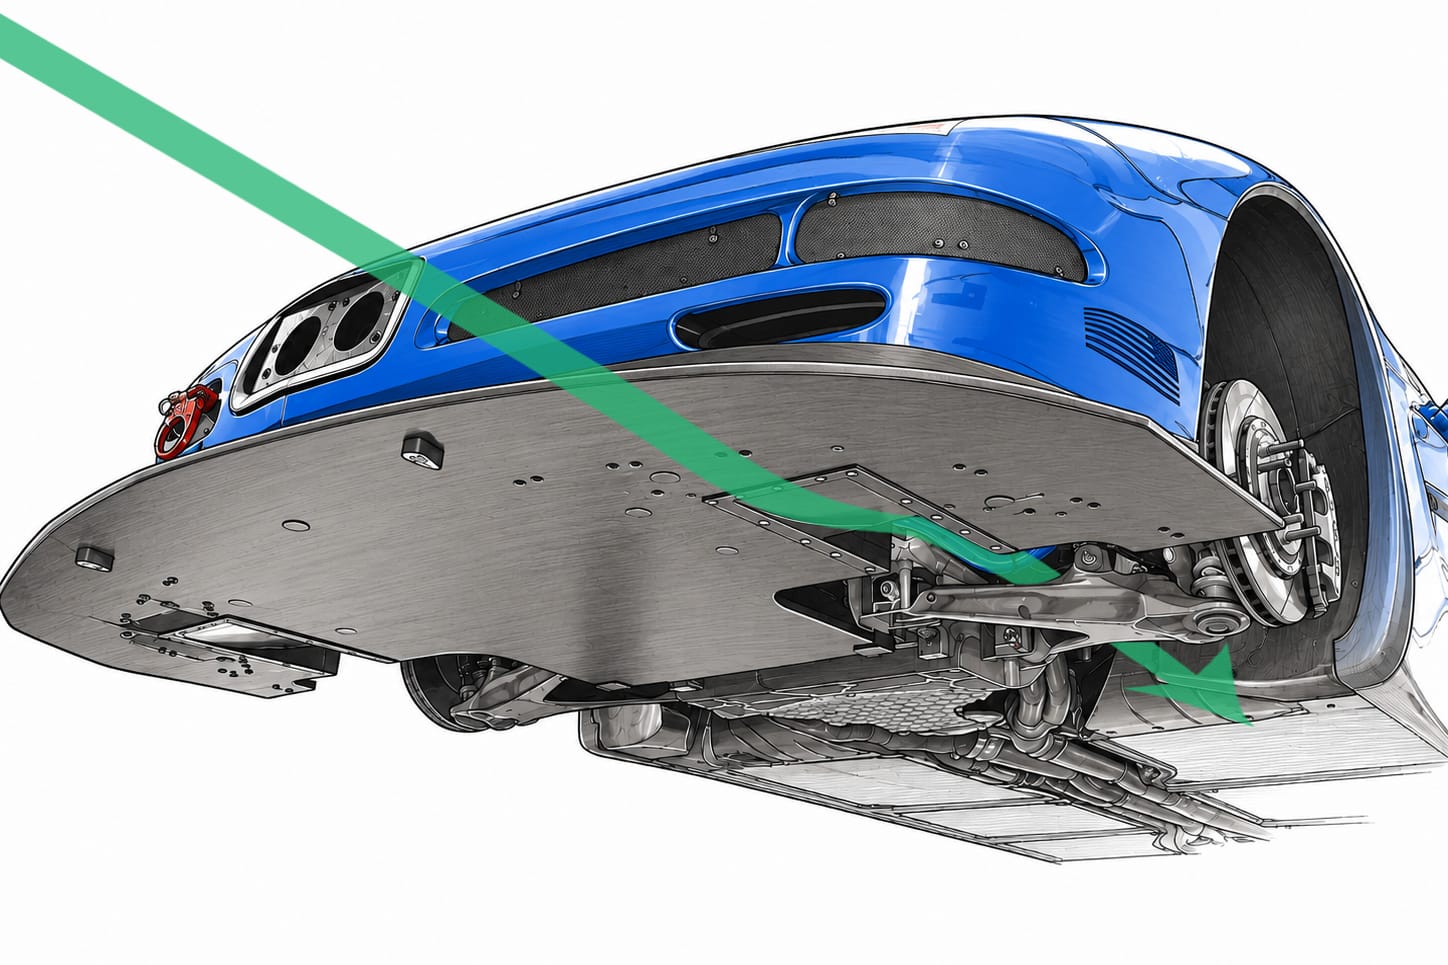
Follow the airflow: it enters through the shallow throat beneath the splitter, travels up the expanding ramp, and exits through the taller rear opening.
1. Acceleration
Air enters through the narrow throat, where the reduced opening speeds up the airflow and lowers its static pressure.
2. Controlled Expansion
The ramp gradually gives the airflow more room. This helps it stay attached and exit cleanly while recovering pressure through the expansion.
3. More Front Load
The lower pressure beneath the splitter increases the pressure difference across the blade, which can add front-axle downforce.
You may be wondering how much downforce these diffusers create. A properly installed pair can increase the splitter’s front-downforce potential, but there is no honest universal force number. Results vary with splitter height, speed, placement, sealing, and nearby bodywork and suspension. Our guide offers a broad starting point for matching the front diffusers to the rear wing, but every application is different, so leave room to adjust the setup.
Planning the Diffuser Placement
Before cutting, put the splitter in its final installed position and inspect the space above and below it. Check exhaust components, crash structures, suspension and tire movement, ducting, and bumper clearance.
- Aim to place the throat about 3 to 4 inches or more behind the splitter’s leading edge. This is our usual starting point, not an absolute rule.
- Keep the throat unobstructed. Do not place a component directly in front of it that blocks the incoming airflow.
- Give the outlet somewhere to flow. Clear space behind the expansion is ideal. The outlet may also be positioned ahead of a front tire, where it can help manage the high-pressure, turbulent airflow around the front of the tire.
- Use the available width. We generally place the pair as far apart as practical when targeting the area ahead of the front tires. Mounting them closer to the vehicle centerline is also acceptable when the installation demands it.
- A small outward angle is optional. The throats may be angled toward the vehicle centerline and the outlets outward by up to approximately 10 degrees. This can help manage airflow through the expansion, but a straight installation also works.
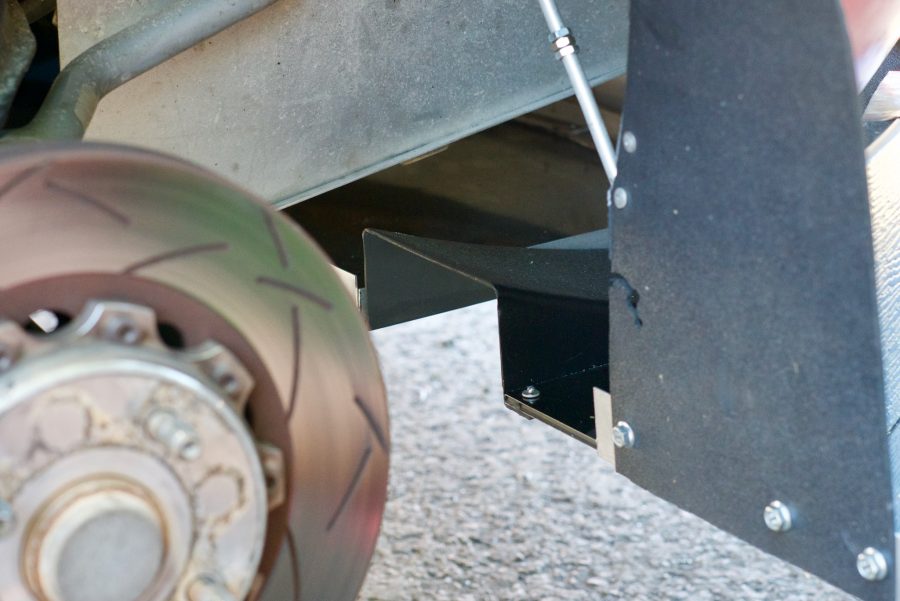
There is no perfect location for every car. Prioritize clear airflow, secure mounting, tire and suspension clearance, and blade strength after the openings are cut.
Choose the Right Diffuser for Your Build
Bigger is not automatically better. Choose the version that fits the available space and suits the rest of the car’s aerodynamic balance.
| Version | Best fit | What to consider |
|---|---|---|
| Standard ABS | Most builds with limited vertical and horizontal space | The compact, value-focused option when you want more front load without the footprint of the Large version. |
| Large ABS | Cars with room for a much larger footprint and a need for more front-downforce potential | The larger volume has more performance potential, but it requires more space, may require changes to the splitter mounting system, and removes more material from the splitter blade. |
| Carbon Fiber | Customers who prefer carbon appearance or want a stiffer diffuser in the same general size as the Standard version | The stiffer construction can add local support around the opening. An additional strake can help manage crossflow for more consistent performance. The splitter may still require reinforcement. |
Aero balance matters more than static vehicle weight distribution. Tires, suspension, ride height, rear aero, speed, and existing high-speed behavior all influence how much front downforce is appropriate. Consider any meaningful increase in front load alongside the rear aero, then evaluate the car progressively at increasing speeds.
Should You Add Vents?
For most applications, we recommend pairing the diffusers with vents or air extractors. Relieving high pressure above the splitter and inside the wheel arches can increase front axle load and may provide an additional safety benefit by reducing pressure buildup, generally with a relatively small drag penalty.
Vents are optional. A low-drag build that already has enough front load may not need them. Choose based on the car’s aerodynamic balance and goals, not simply by adding every available component.
Trimming for a Tight Installation
The outer mounting flange may be trimmed slightly when necessary, but enough flange must remain for the diffuser to be mounted securely and sealed around its perimeter.
If the diffuser is too long, the farthest rear portion of the outlet may be trimmed. Do not shorten the throat or inlet side. Reducing the rear expansion also reduces volume and expected performance, but it can be practical when the full length will not fit.
Dry-fit everything before trimming the diffuser or cutting the final splitter opening. It is easy to remove more material, but much more challenging to put it back.
Mounting the Diffusers
The diffuser mounts beneath the splitter. Its leading edge and flange sit against the bottom surface while the ramp passes through the opening and rises above the blade. Strong mechanical attachment and a good perimeter seal are both important.
| Splitter material | Recommended starting approach |
|---|---|
| Plywood | Use through-bolts with large washers or backing strips and locking nuts. Seal drilled holes and exposed wood edges against moisture. |
| Carbon fiber | Use through-bolts with wide load-spreading washers or backing plates. Support the laminate while drilling and seal exposed cut edges with epoxy. Do not recess the flange unless the laminate was designed to tolerate that material removal. Isolate bare aluminum parts from direct carbon contact where galvanic corrosion could occur. |
| Alumalite or similar sandwich panel | Wide-flange rivets with backing washers can work well, as can through-bolts with large washers or backing strips. Avoid overtightening and crushing the core. Crush sleeves may be appropriate where greater clamping force is required. |
Fastener quantity, spacing, and size depend on the remaining flange, splitter construction, expected aerodynamic load, and installation geometry. Support the flange evenly so it cannot lift, distort, or work loose.
After fastening, seal the flange with a continuous bead of neutral-cure silicone or another ABS-compatible flexible sealant. This reduces air bypass around the diffuser flange. Treat the sealant as an air seal, not the primary structural attachment.
Bonding can work, but the adhesive and surface preparation must be validated for the exact materials. Do not assume a general-purpose adhesive or silicone sealant provides a suitable structural bond.
Does the Flange Need to Be Flush?
No. The diffuser can work with its flange mounted beneath the splitter, even with a small lip at the inlet. Recessing it into a suitable solid splitter creates a smoother transition, but the likely aerodynamic gain is small. Secure mounting and a good seal matter more than a perfectly flush flange.
What Is Included
- 2 identical vacuum-formed ABS splitter diffusers
Not included: Mounting hardware, adhesive, sealant, splitter reinforcement, or vehicle-specific installation components.
Installation and Track Inspection
- Support the vehicle safely and place the splitter in its final installed position.
- Dry-fit both diffusers and verify clearance above the splitter, below it, around the tires and suspension, and behind each outlet.
- Mark the throat locations, aiming for about 3 to 4 inches or more behind the splitter’s leading edge unless the vehicle packaging requires a different position.
- Cut the splitter openings carefully, with the goal of having the diffusers fit without being forced or distorted.
- Mount the flanges securely with hardware appropriate for the splitter material. Confirm that the fasteners spread the load without crushing the diffuser or blade.
- Seal the perimeter to reduce air bypass around the diffuser flange.
- Confirm that the splitter remains stiff and securely attached to the chassis after the openings are cut. Reinforce the blade or mounting system when needed.
- Inspect the complete splitter system before and after every event and after any impact or off-track excursion.
Correct any looseness, cracking, deformation, failed sealant, damaged fasteners, blade flex, or interference before returning to the track. Any reduction in blade strength must be accounted for, and the added aerodynamic load must be carried safely into the vehicle structure.
A final balance note: More front downforce is not automatically safer or faster. High-speed oversteer can be difficult to recover from, so evaluate the complete aero balance and introduce changes progressively. If you are uncertain about structure, placement, or balance, contact Professional Awesome with clear photos and measurements before cutting.
Learn More Before You Cut
Want the larger aerodynamic picture before cutting? Our DIY Downforce guide explains splitter height, balance, diffusers, flat floors, and wings. You can also read which front diffuser pairs with which rear wing for a practical starting point on aero balance.
Prefer to Watch? Start Here
Speed Academy walks through fitting a pair of Professional Awesome diffusers to a splitter. Their installation is one example rather than the only correct method, but it is a useful way to see the opening, flange, and finished position before working on your own car.
Explore Customer Installations
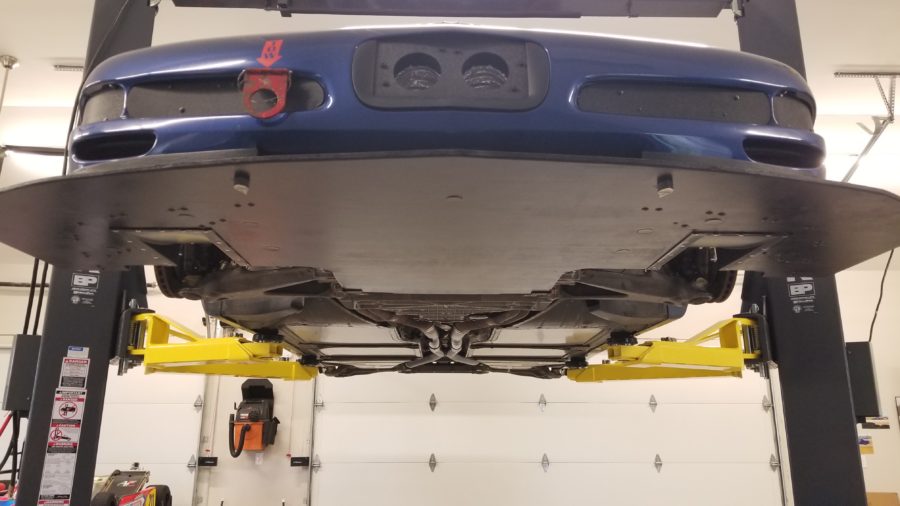
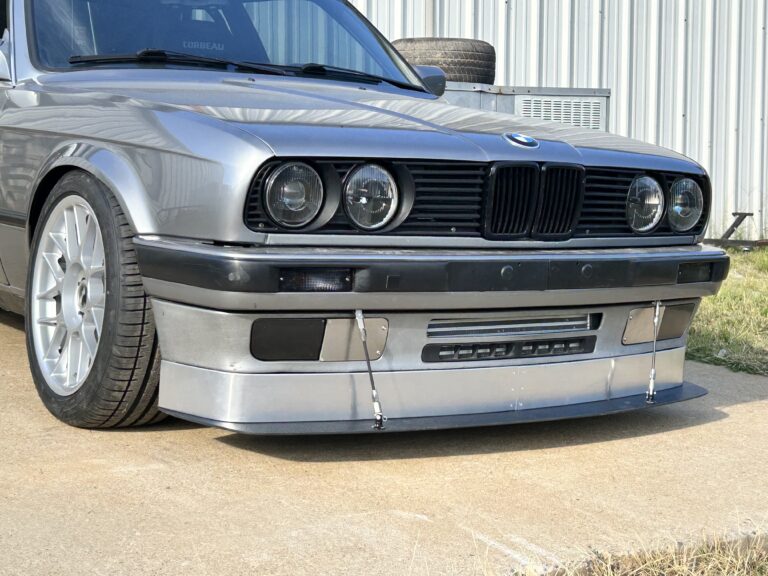
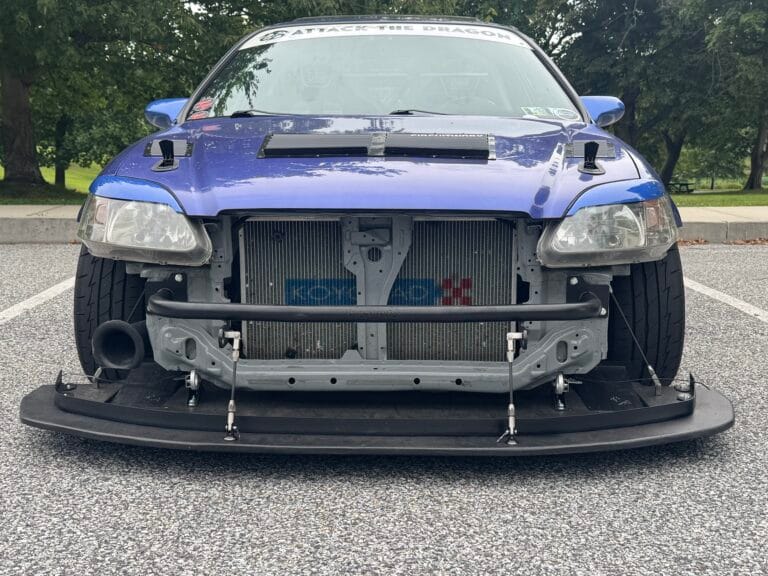
Browse real-world installations for ideas on diffuser placement, splitter construction, front-tire positioning, and the rest of the support system.



James Houghton –
We have used this awesome product as is in splitters that were already built and flat. We have also used them as a template in large carbon splitters. There is a huge increase in downforce when using these over a simple flat splitter. We have set many class and track records while using this design and have nothing but great things to say about them.
Shawn Krebsbach –
Great product! I installed these in the splitter for my evo 9 time attack car. Super simple install and they definately create more front downforce to help even out my rear wing. Awesome support to get the diffuser in the correct position too!
Ian Girvan –
I immediately felt the difference in fast corners when I installed these. Be ready to dial in extra rear down force to maintain the aero balance and make sure your mountings are up to snuff, because these things work!
Zac Ross –
A bit about my car before I go into details on the diffusers themselves. I race a 2015 Volkswagen GTI in Time Attack. Its been a production class car with no aero until recently. We decided to move the car up into a Street Mod class and create an aero kit for it. Now I can think of maybe 1 or 2 other MK7 GTI’s with real functional aero aside from TCR spec class cars built by VW themselves. So, at this point in a build you have to start fabricating parts like a splitter, louvers, diffusers, etc. yourself. This is where the guys at Professional Awesome come in and make things easy.
I first heard of Professional Awesome when working with James Houghton last fall at Toronto Motorsports Park. James was helping me out that day with car set up and such and we got to talking about aero and what I should do with the car to be competitive in Street Mod. First thing he said aside from a huge rear wing/airfoil and removing as much weight as possible were diffusers and fender vents from Professional Awesome. Not something the average track enthusiast would even think of.
Installation was very easy. Simply cut out the area on your splitter where you want to mount and bolt/rivet in place. That’s it. Something so simple helps create a lot more downforce and when they say to secure your splitter they mean it!! I had to use extra aluminum brackets behind the bumper to ensure I had enough support. I don’t have a fancy splitter. Its something that’s still in the works and can clearly be improved on. I can always remove the diffusers when I make a better revision which is also a bonus.
As the weather improved up here in Toronto we had a chance to get out to the track and do some testing. With our aero kit complete I was extremely happy with the results even though this is not a very high-speed track that rewards aero. Corner speeds improved along with over all stability under hard braking. The diffusers play a big role in the overall aero balance. I can only imagine what a difference these would make on a track like Road Atlanta or Mosport GP and in the next few months we get to find out!
Overall very pleased with the product. Its not fancy, doesn’t look expensive, made of some crazy carbon material or cost an arm and leg. It’s a well engineered piece of ABS plastic that just functions as it should and when you are chasing that last tenth that’s what counts.
Steve Greene (verified owner) –
Not to be underestimated. As mentioned before, ensure your mounting hardware is strong. These pulled my mounting bolts through my first splitter on my C7 Z. There is a lot of support from professional awesome on mounting and hardware solutions. I definitely recommend these if you are interested in making more downforce.
Feras Qartoumy –
These diffusers are awesome. I needed something to help balance out my rear wing and these did the trick.